|
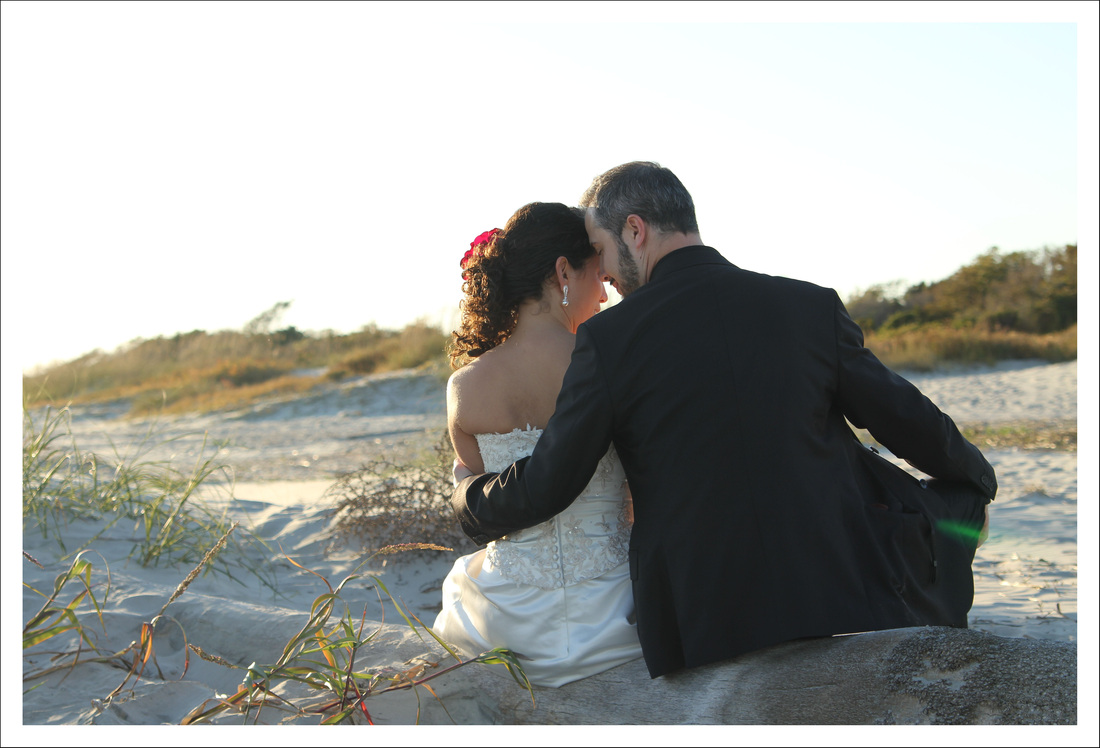
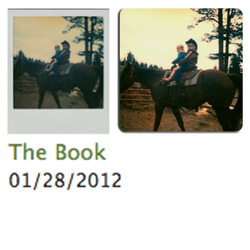
This week's Edit Me Challenge comes from Selena of Stoneyville. The original image (below) had some challenging elements, most notably the sky with complete lack of color or interest.
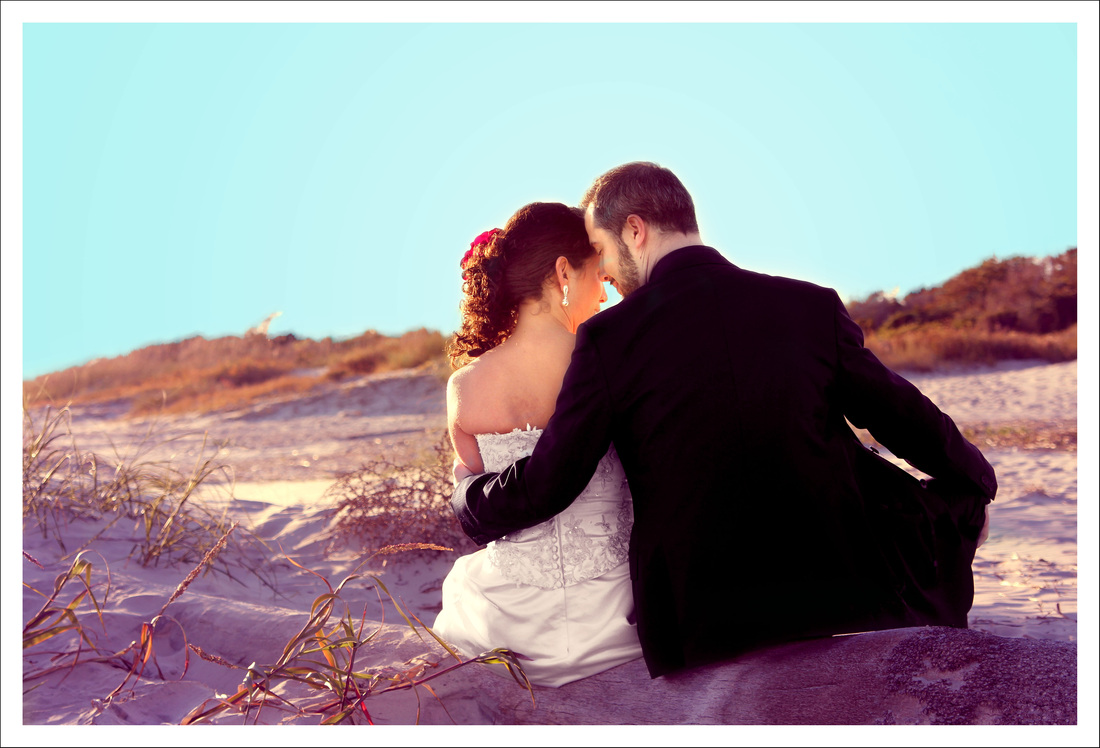
With my first edit, I did so many things to it, I don't even remember them all. It ended up looking a little over-colorized, but I think I like the effect anyway. I definitely added some sky color, and warmed it up overall. I changed the contrast and saturation on the couple's clothing as well. This one is my official entry for the Edit Me Challenge.
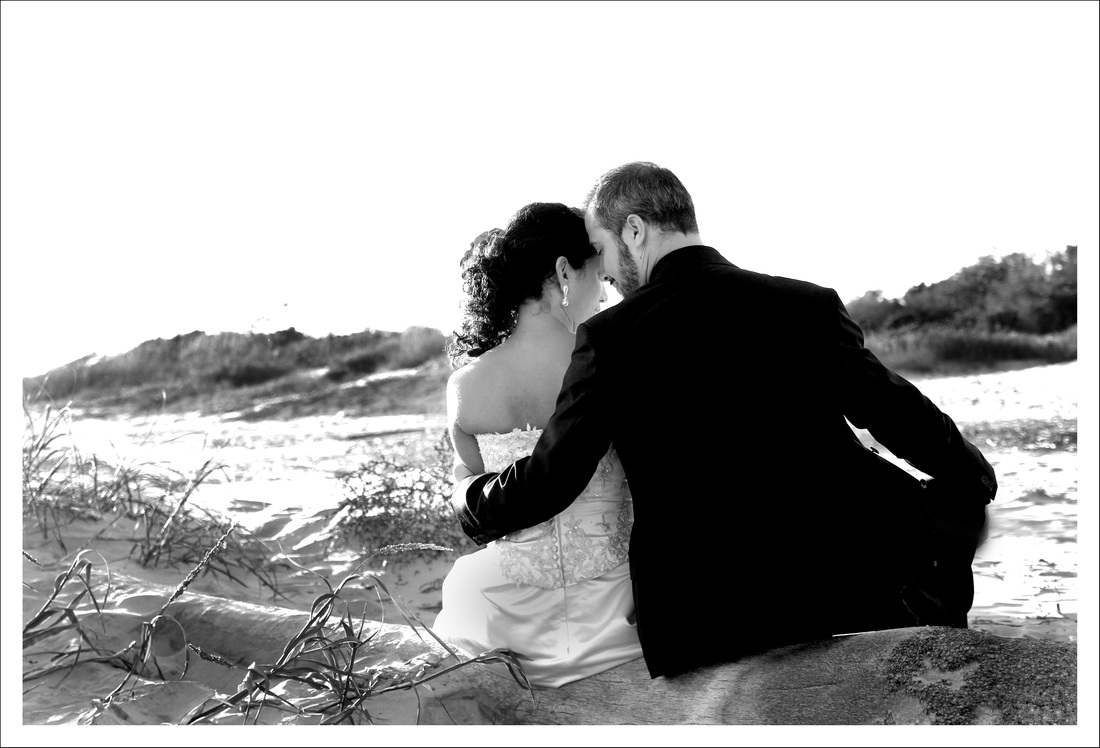
On this second edit, I simply altered the levels, brightness, and contrast, and then burned in some details. After editing both ways, I'm still not sure which I like better - more color or less color (I did try knocking down the saturation of the vibrant edit, but it left something to be desired).


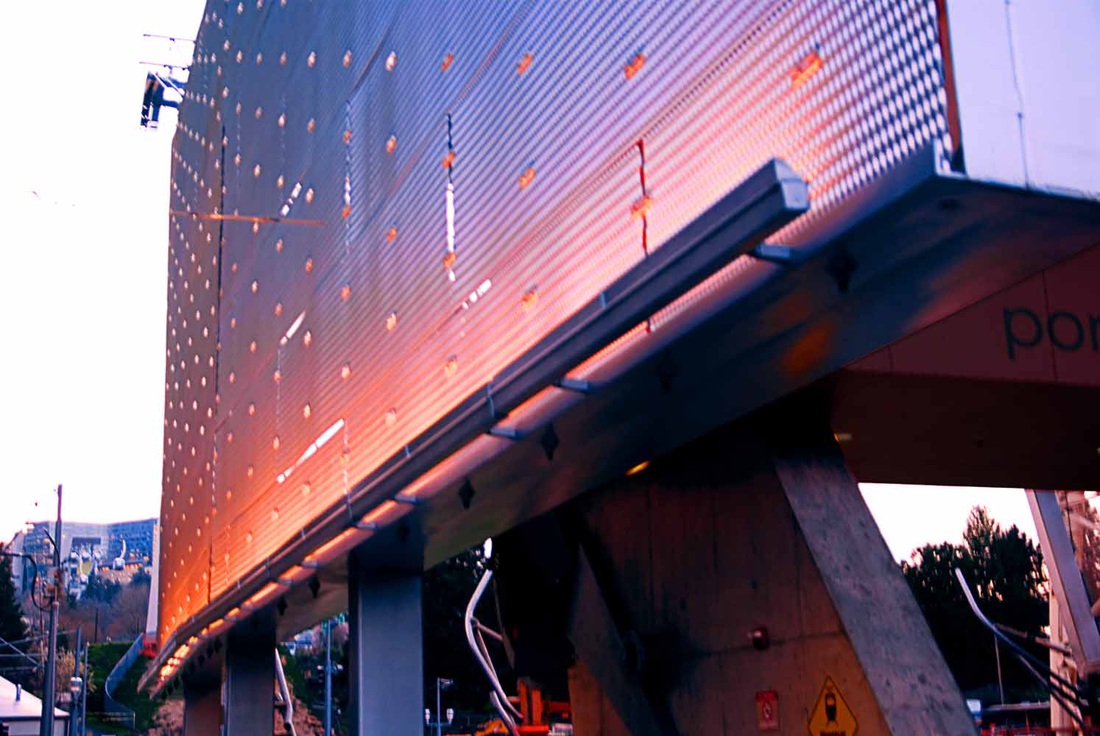
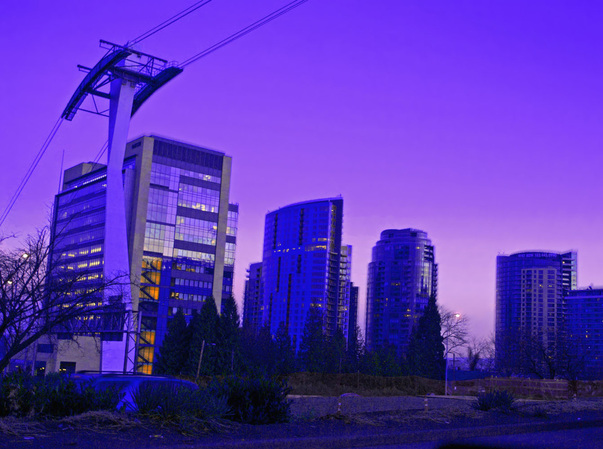
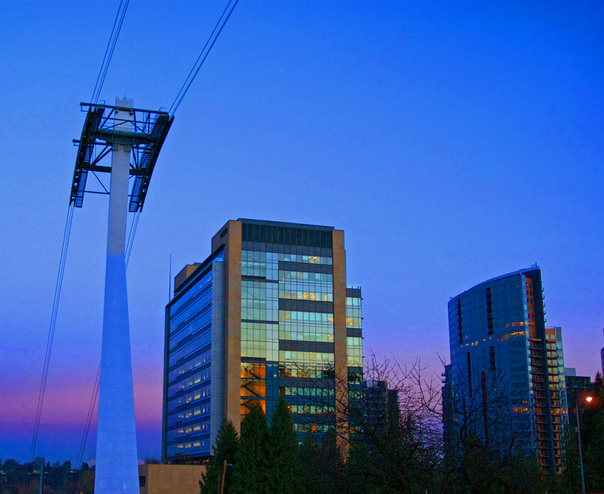
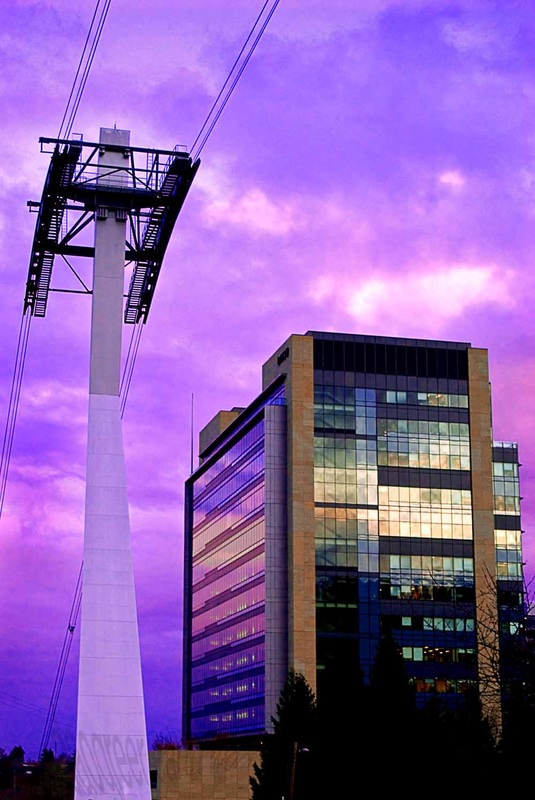
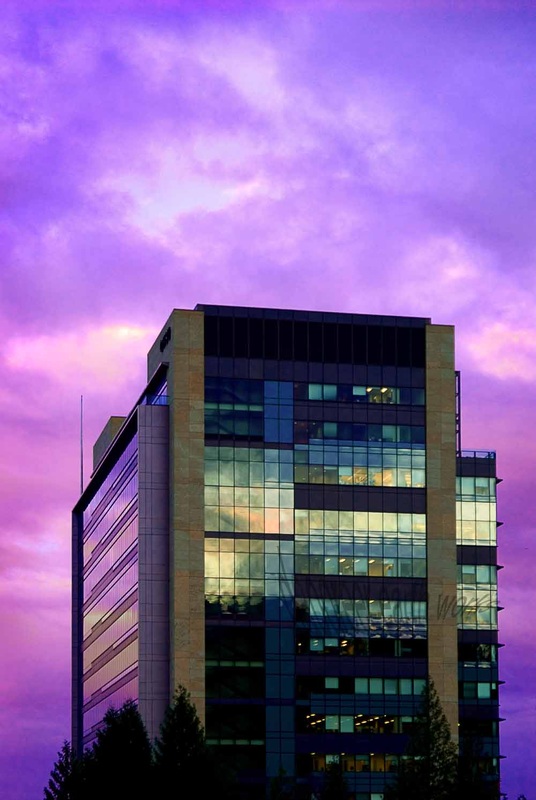
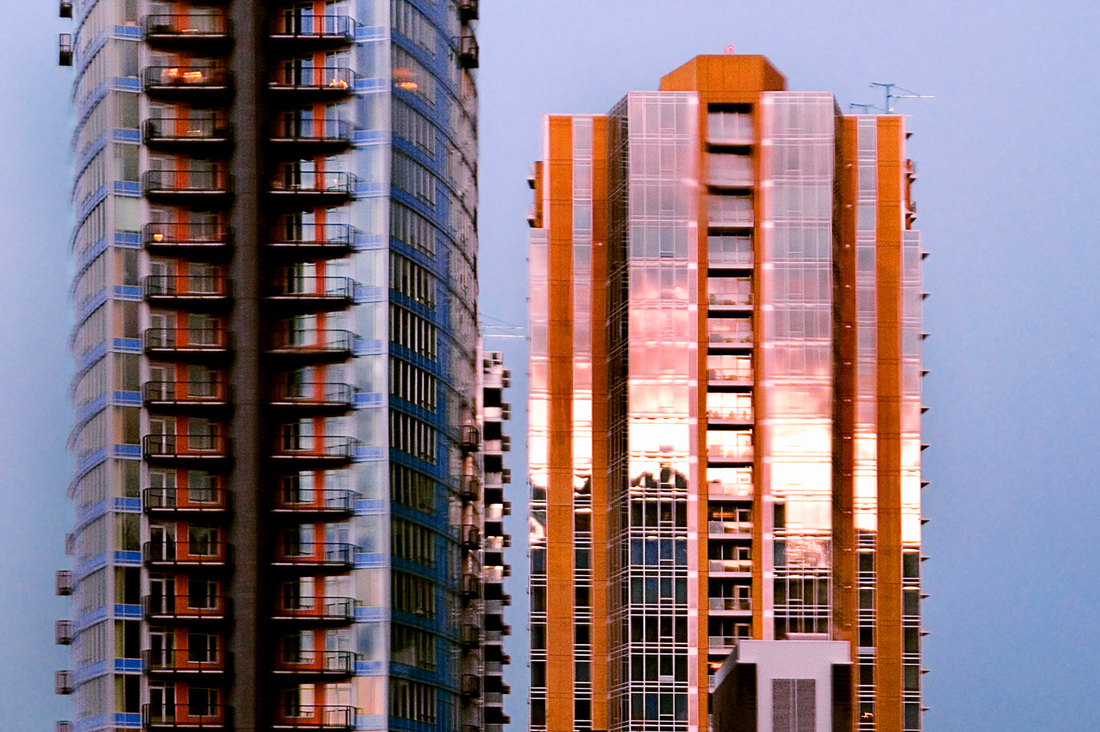
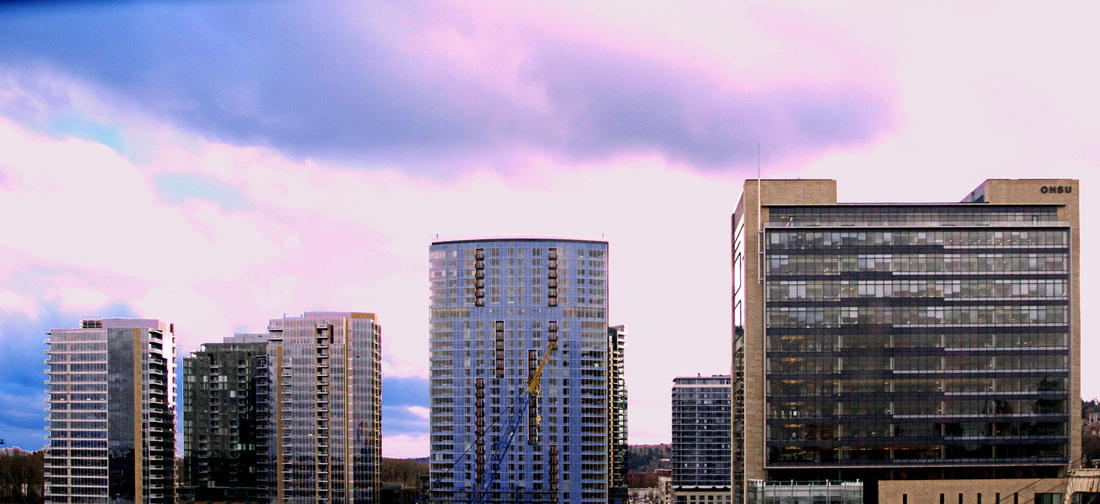
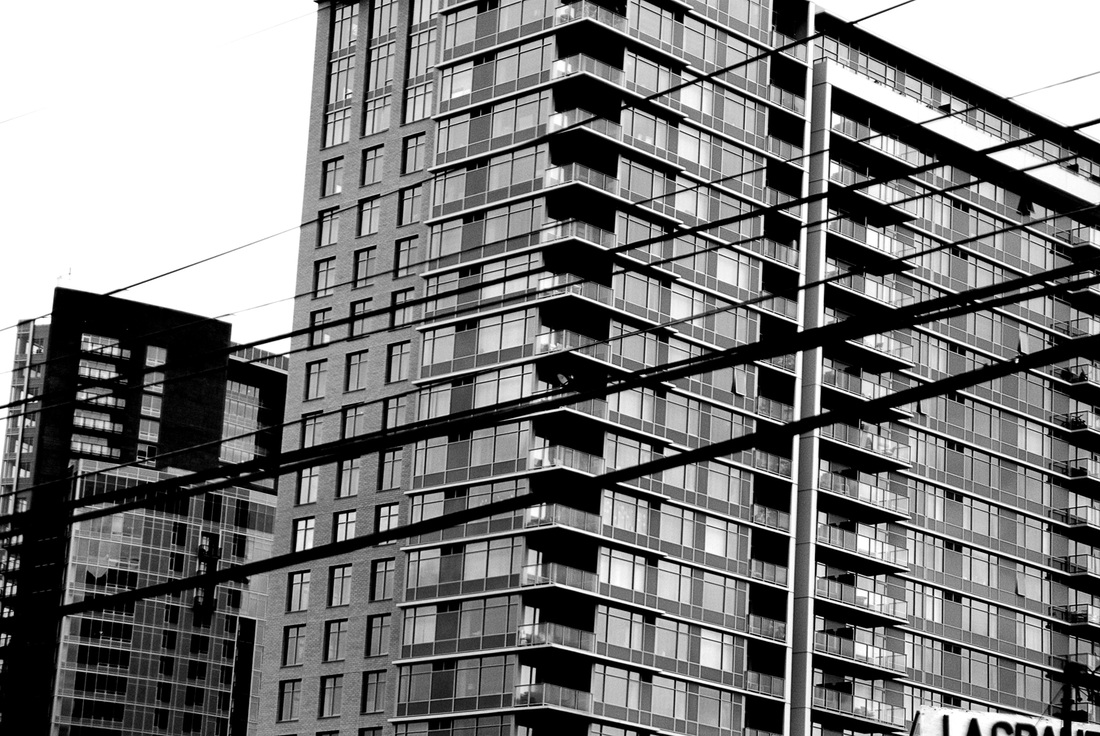
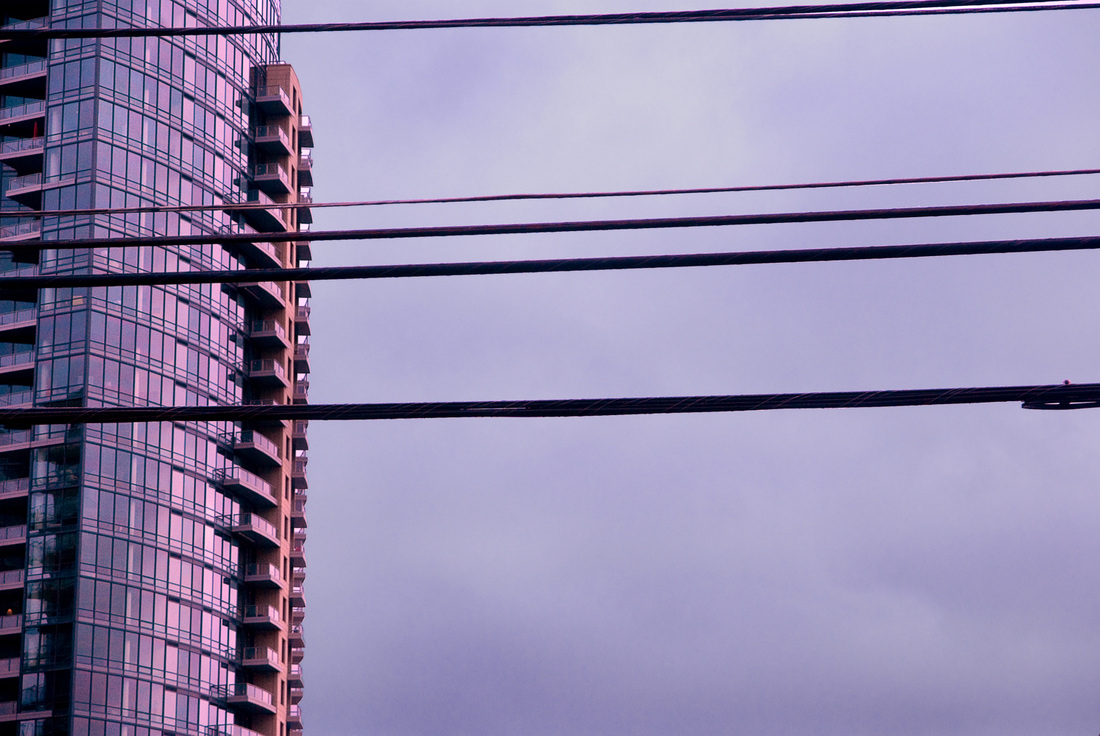
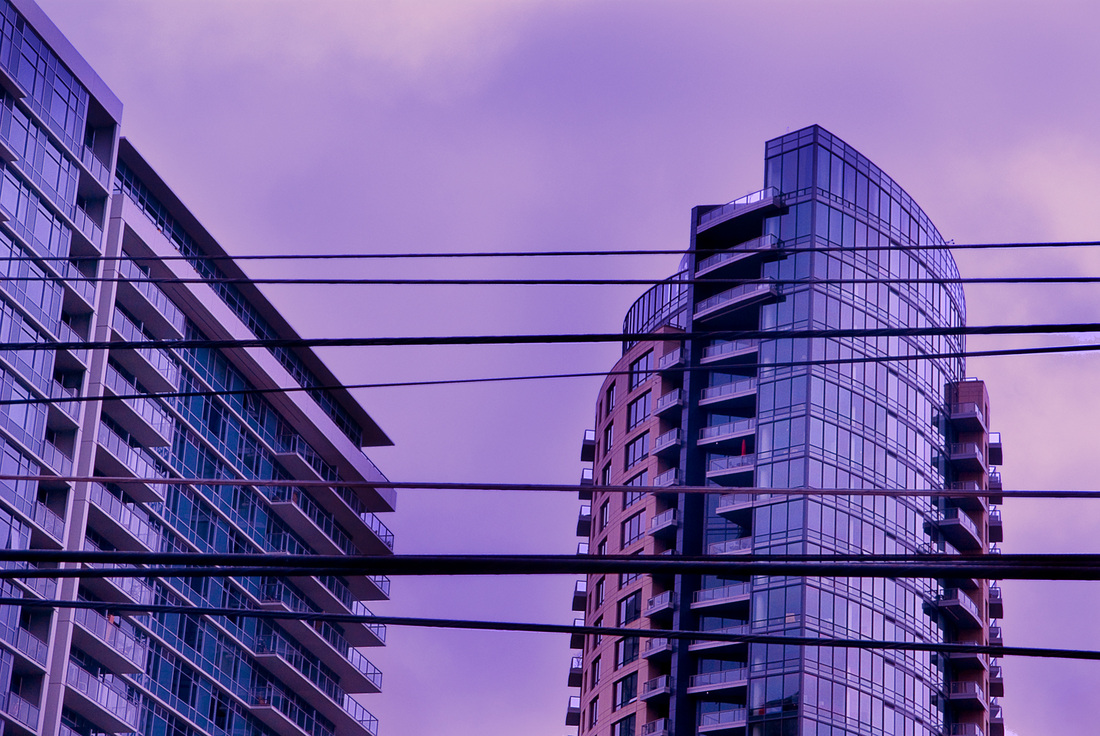
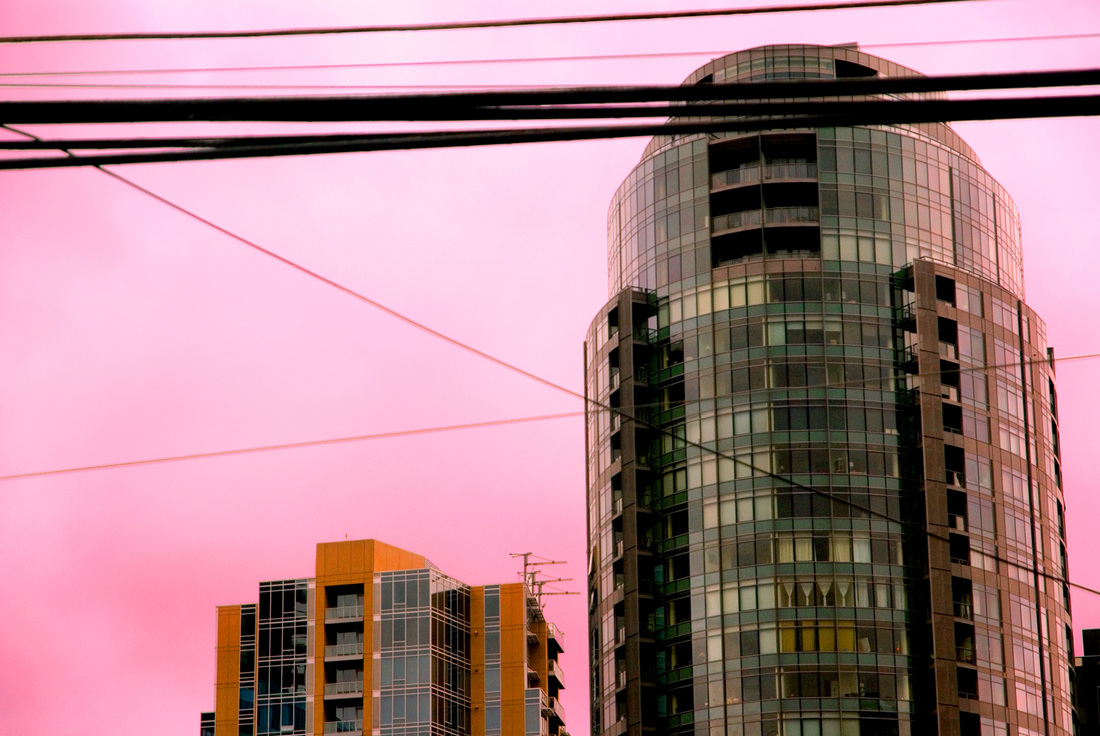
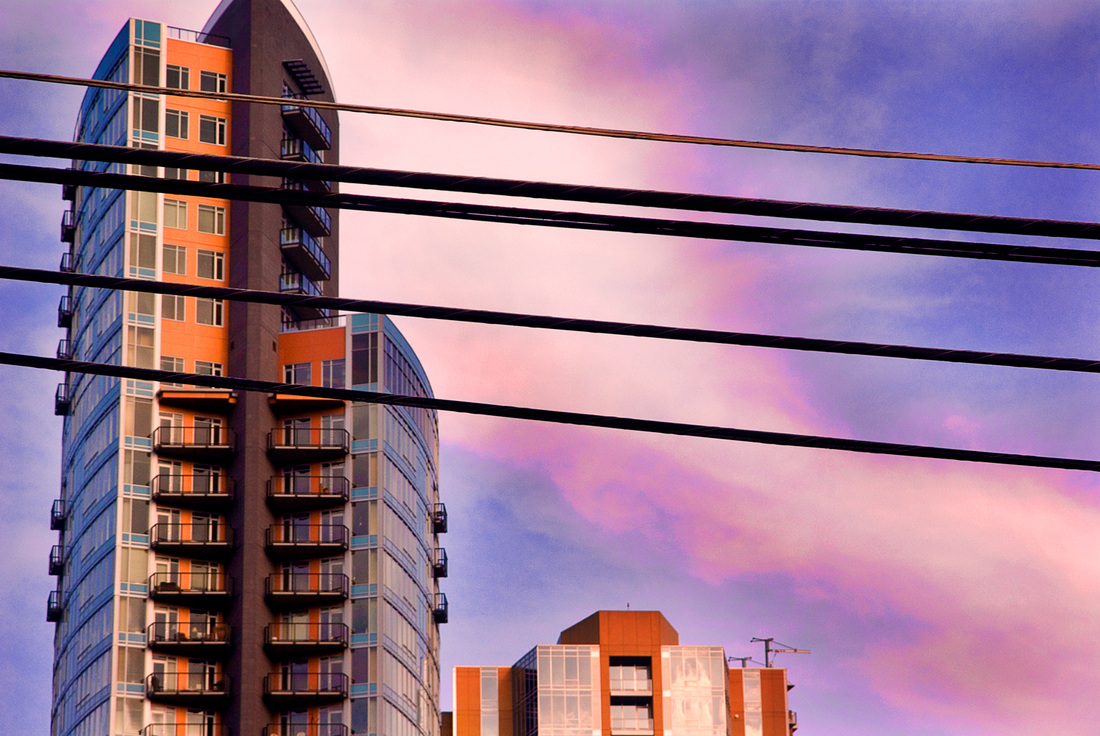
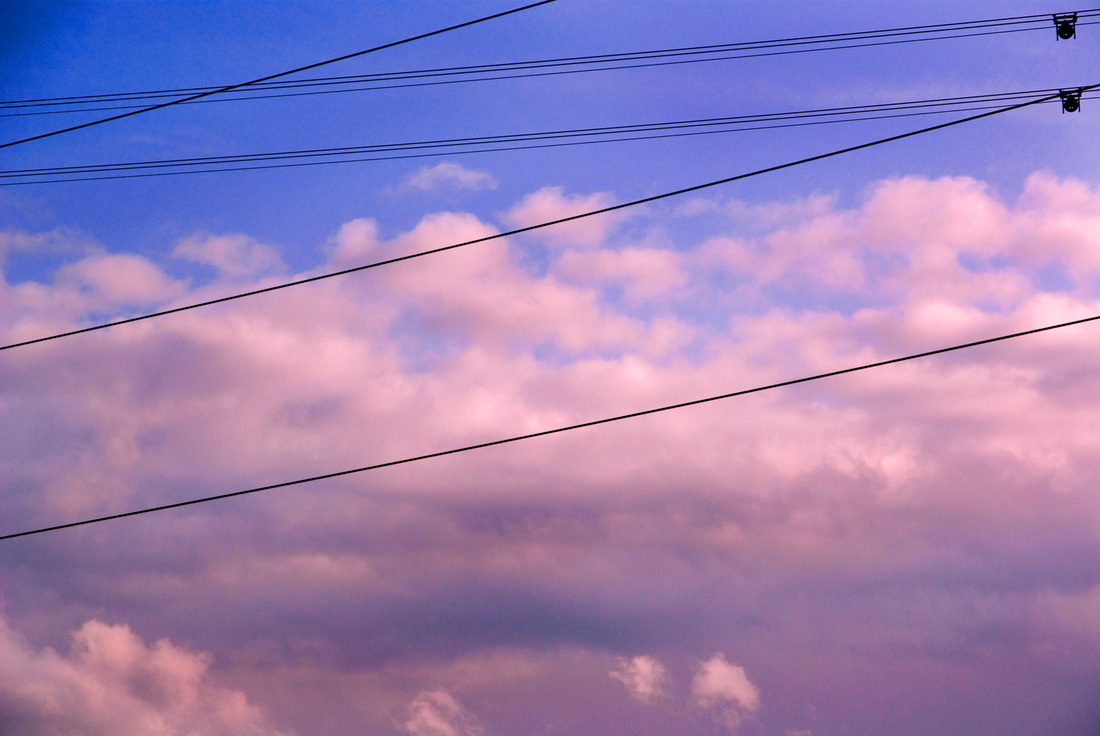
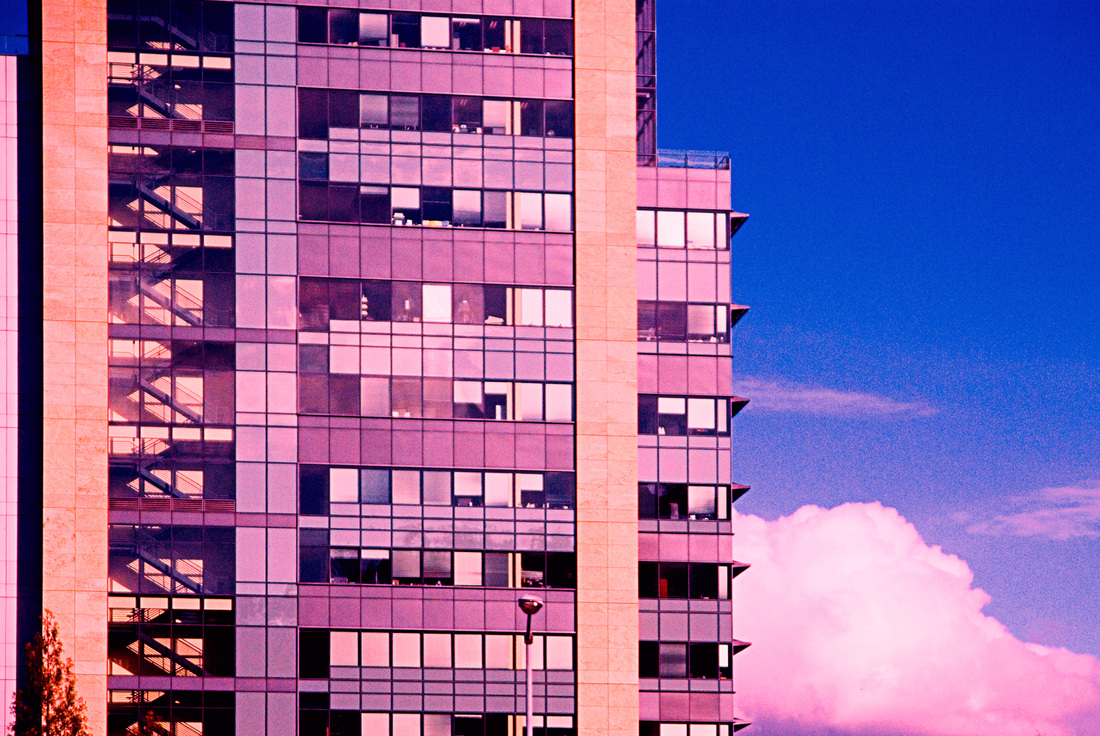
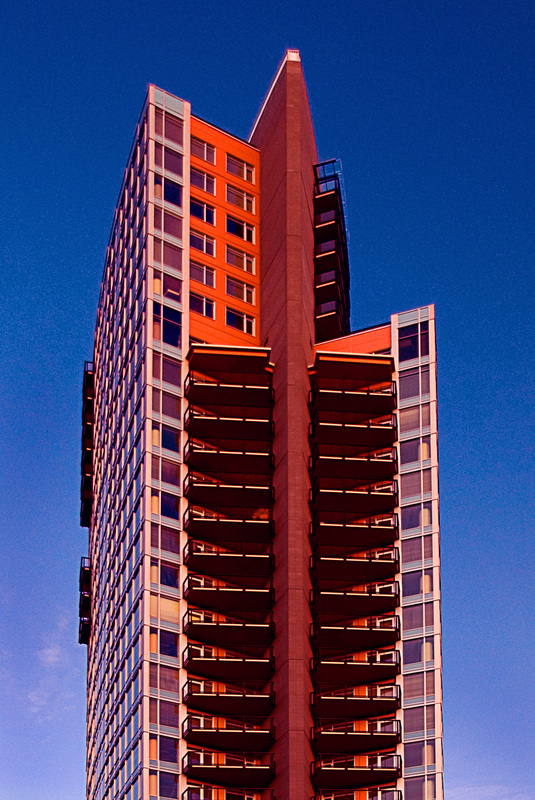
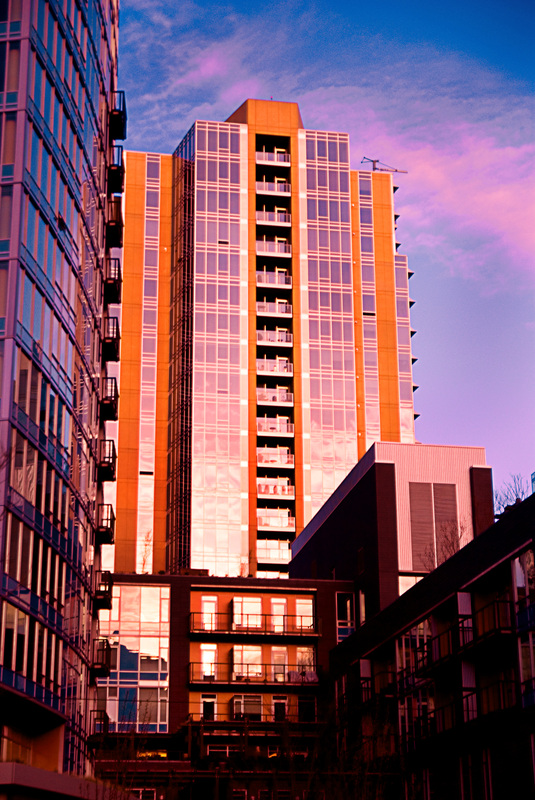
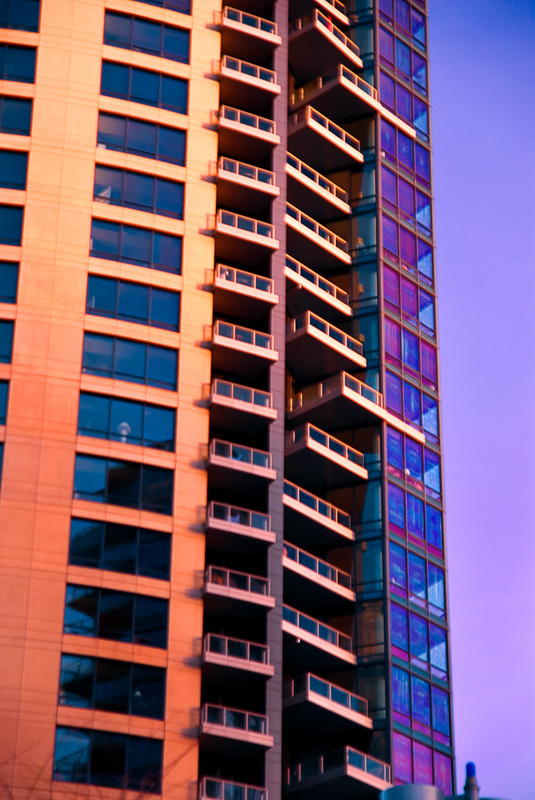
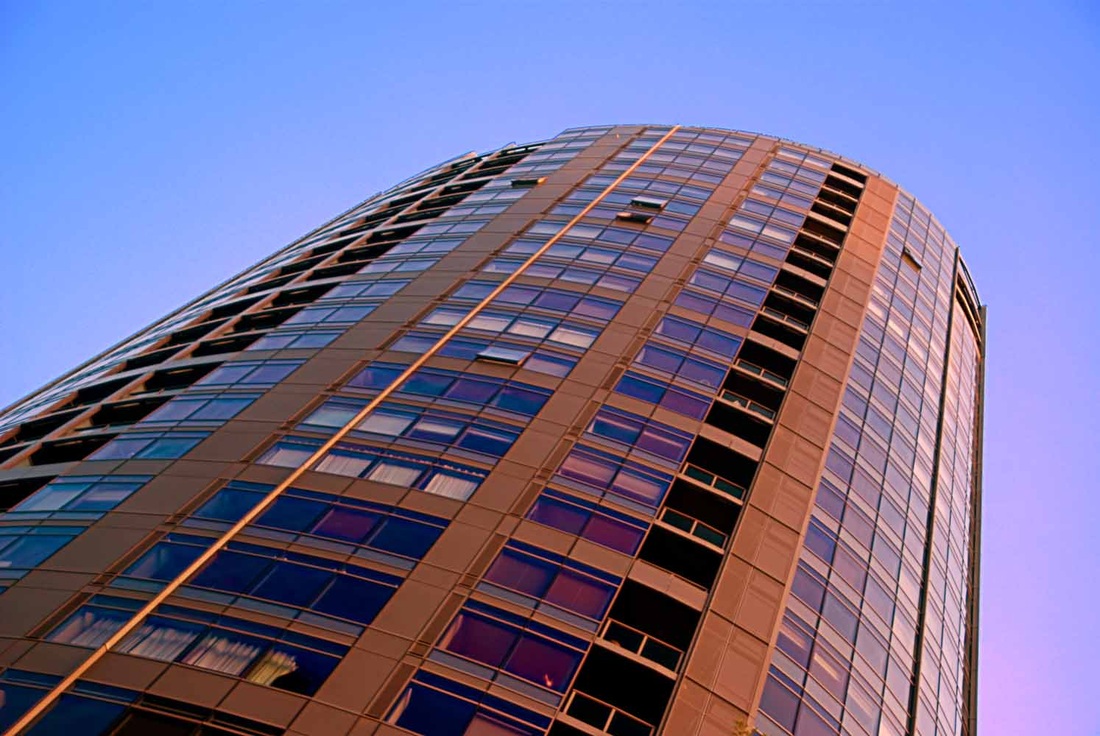
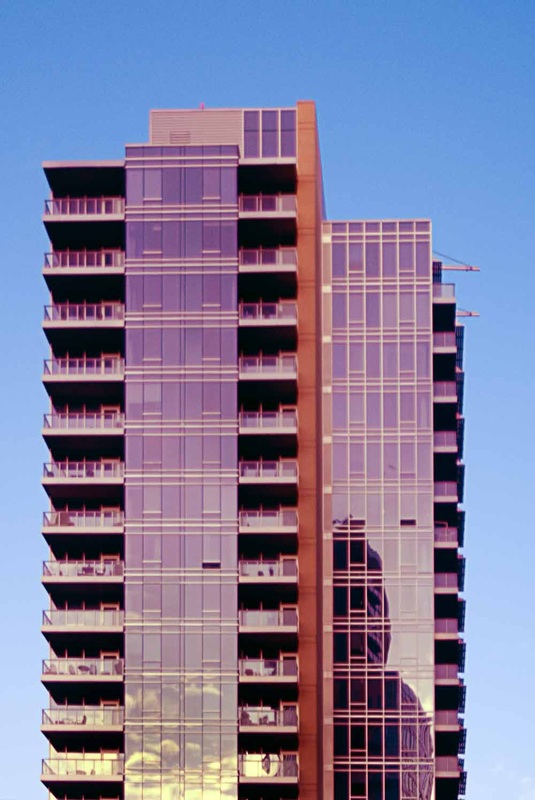
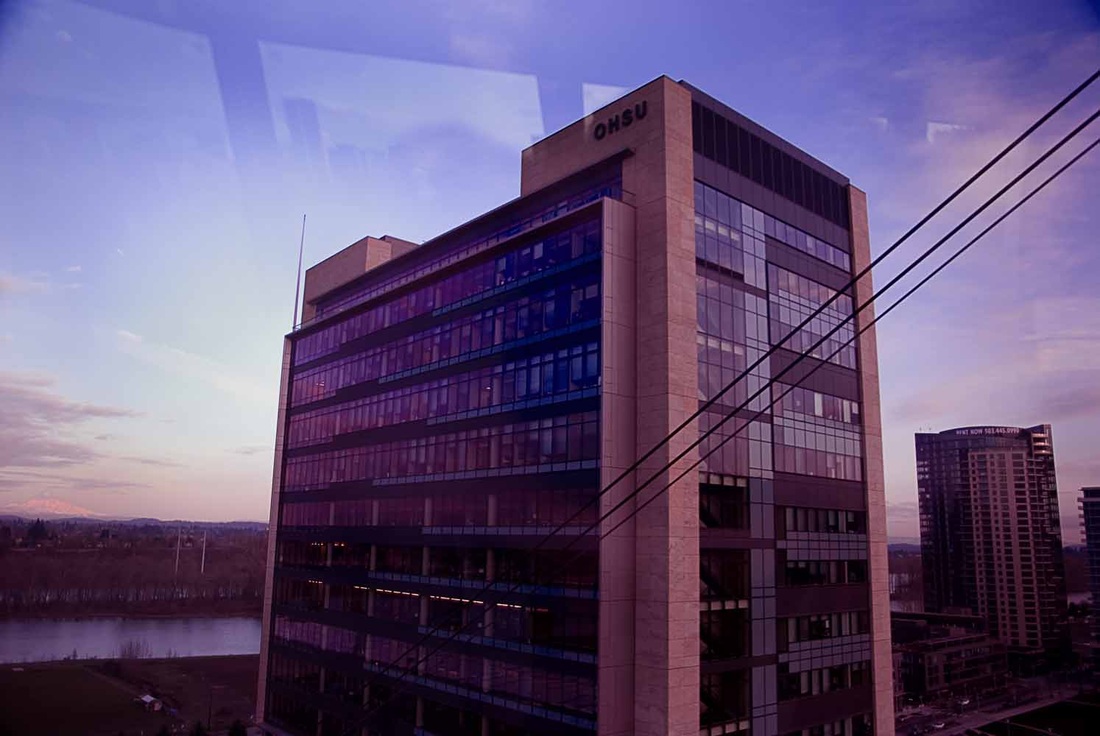
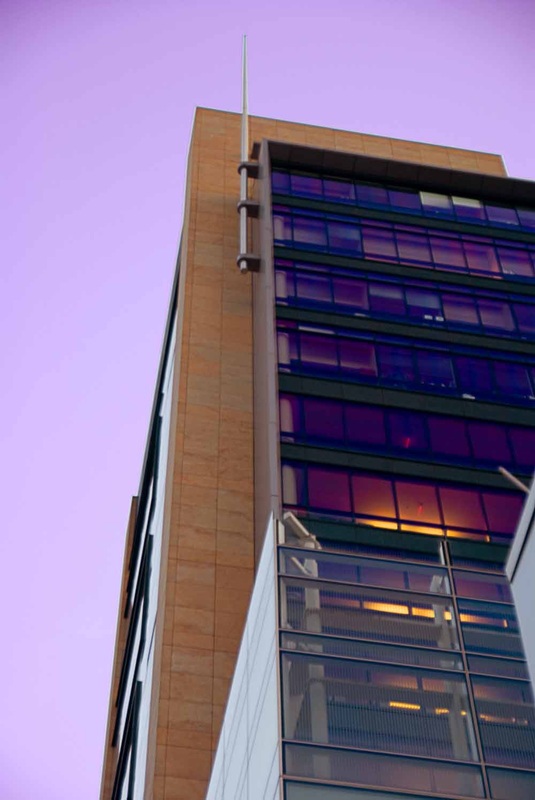
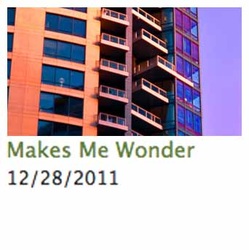
The Portland Aerial Tram recently celebrated its 5th year, just in time for a couple of tram shots in my 36 Views of South Waterfront series. This one, #30, is from the waiting area, and #28 was taken from inside the tram itself (as was #27 from the last post).
This series was also featured on the:

How 'bout that? Also, I just learned, the two tram cars are named Walt and Jean. How 'bout that?
Only six more photographs until the series is complete. Click on any photo above for a slide show.


 Andrea and Megan, with the epic rack of aprons Andrea and Megan, with the epic rack of aprons
Yesterday was
Craft Day 2012. Celebrating its 10th year, Craft Day inspires craftiness in even the most ardent non-crafters. The event is hosted each year by my friends Megan and Andrea, and they provide all the necessary tools to get one's craft on. Left photo courtesy of Lydia Brooks of Board Shanty Photo 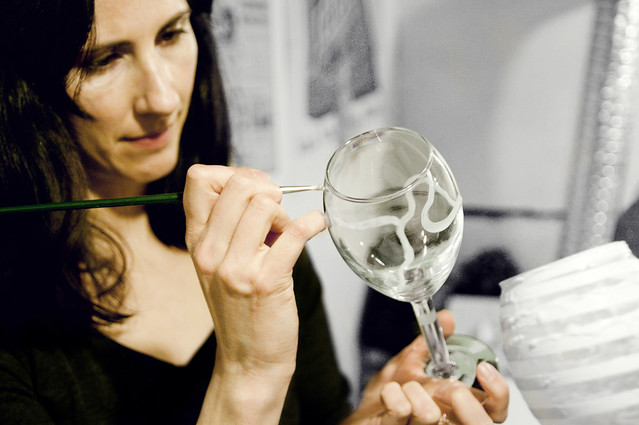 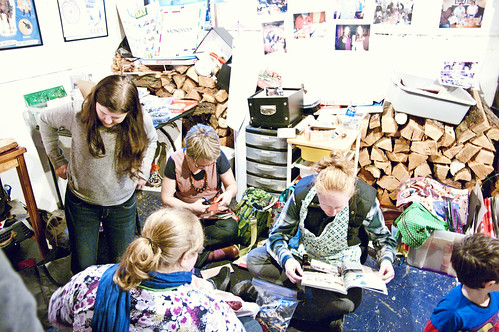 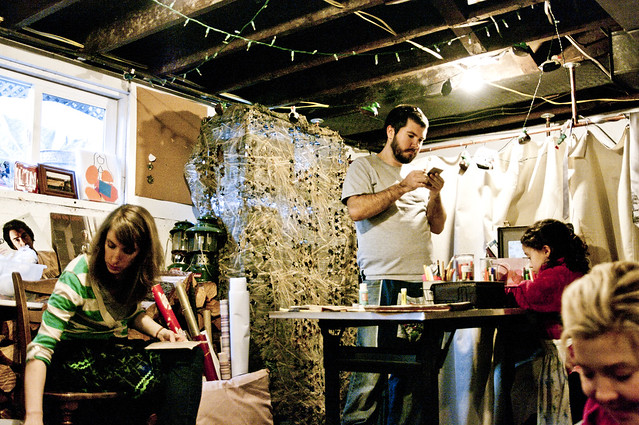 Immediately upon arrival, guests are directed to an enormous rack of aprons, many of which have been constructed at past Craft Day events. Nearly all attendees choose to don an apron for the day (I'm kind of kicking myself for not getting a photograph of the colorful apron rack — Edit: Found a photo of Andrea and Megan with the apron rack [top of post], taken by Lydia Brooks). 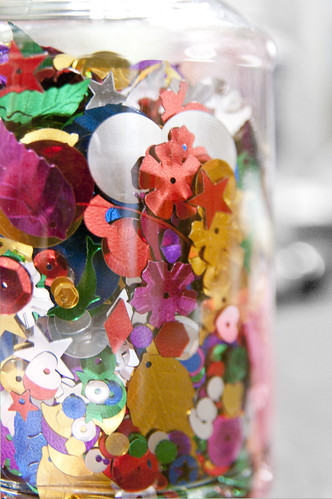  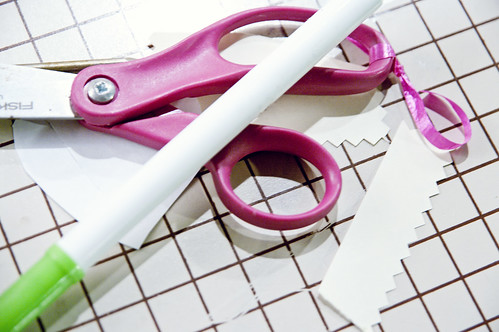 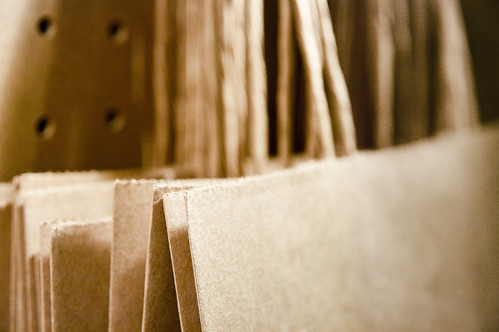 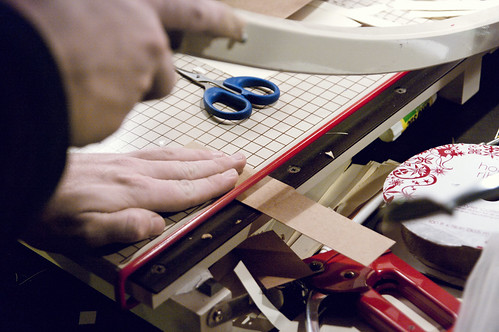 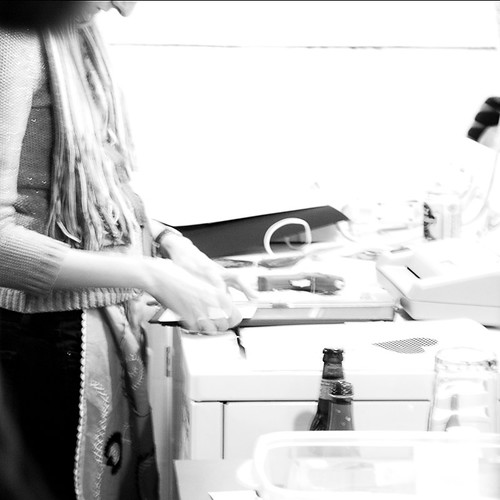 Supplies of all kinds are provided. Basic raw materials like colored paper, fabric, and old magazines, as well as basic tools like scissors, markers, and glue are readily available. But Megan and Andrea don't stop there: they also provide sewing machines and typewriters, irons, glass etching supplies, old board games, stickers, button-makers, and even cookies that need a little decorating. 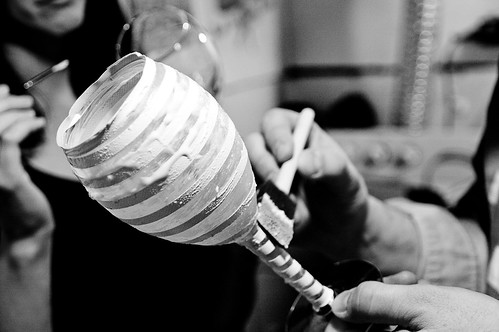 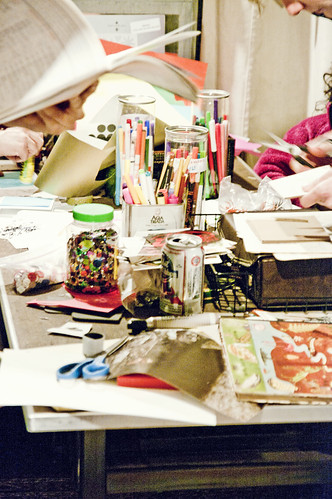 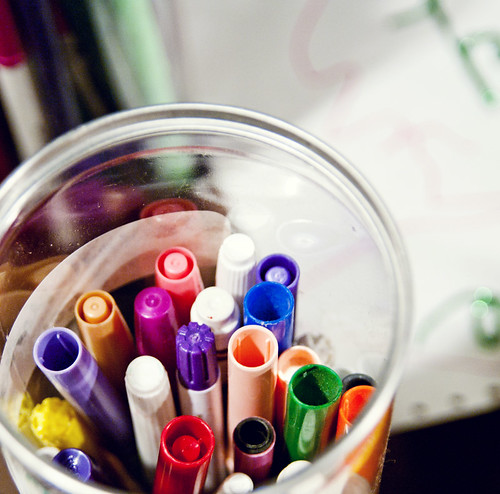 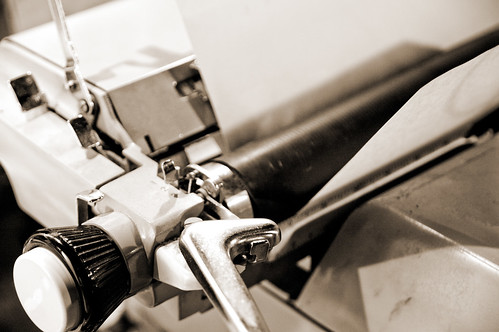 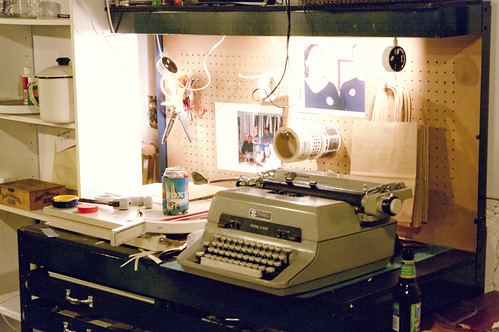 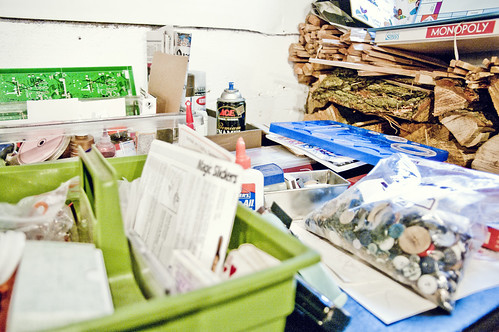 Some participants arrive with a plan in mind, or their own supplies. Some just wait to be inspired by something when they arrive. Some come to learn a new skill, and some teach their existing skills to others. It's nearly impossible not to make something in this environment. 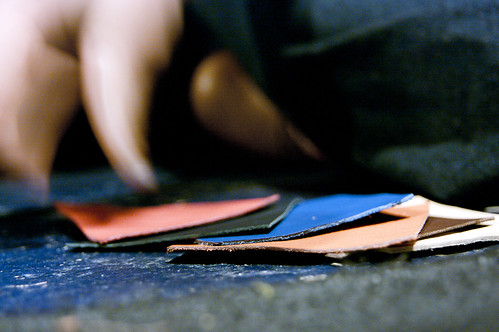 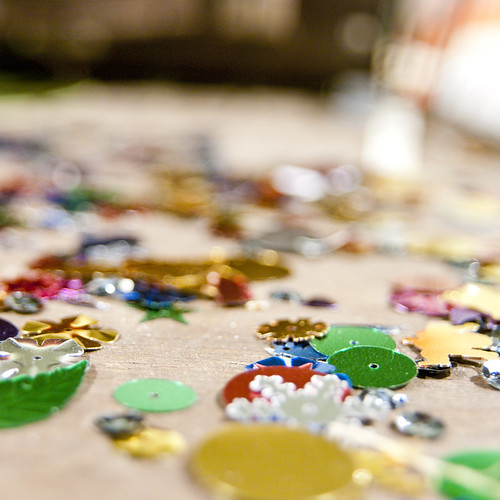 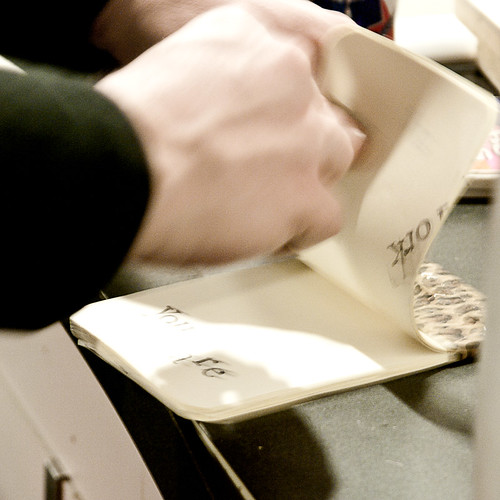 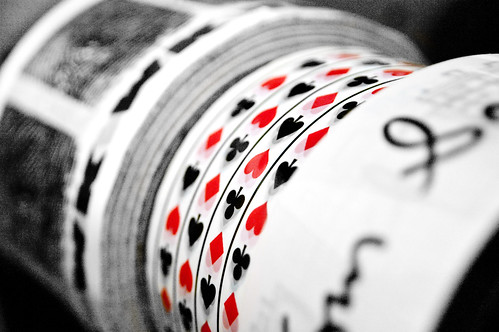 One of my favorite things about Craft Day is the "let's make it happen" attitude. If someone has a craft goal, but no idea about how to accomplish it, everyone nearby pitches in to help the idea come to fruition. Supplies are found, skills are learned, and the crafting abounds.   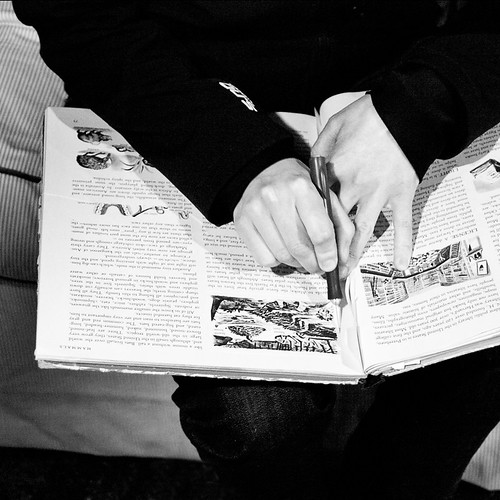 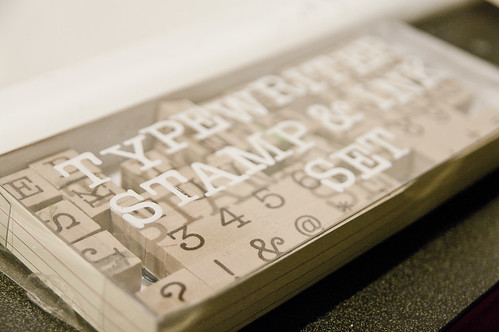 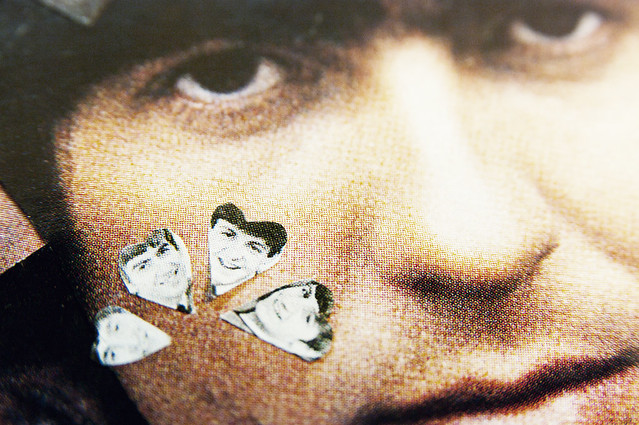 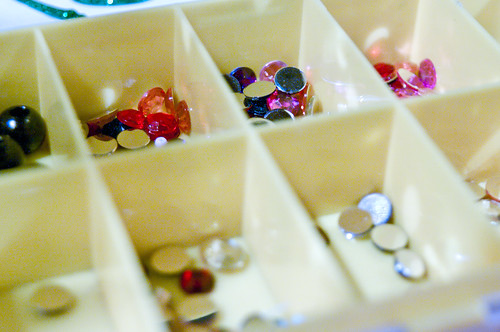 Some attendees show up just for the social atmosphere and to support the efforts of others, but all skill levels are embraced, and nearly everyone ends up proud of their Craft Day accomplishments. 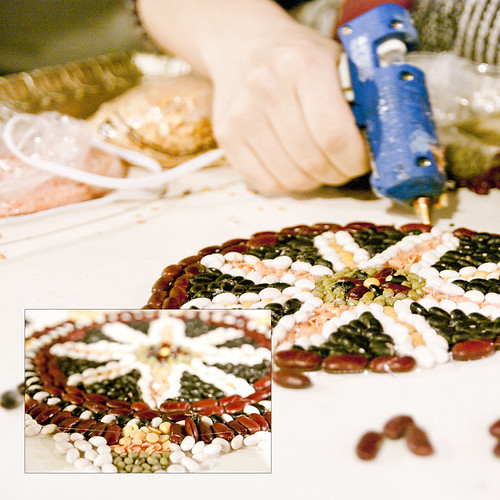    
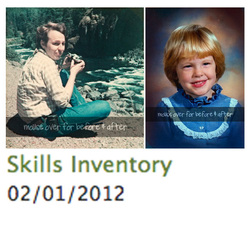
I'm getting better at this Photoshop thing every day.
Of course, starting with a good photograph helps. I still don't think I'll ever be satisfied with what I can get from an old Polaroid. I was, however, surprised at how much of a difference I could make to a professional photograph. My (second) preschool class photo presumably shouldn't have needed much, and yet I was able to generate dramatic improvements. I almost don't want to tackle this restoring-all-my-old-photographs project too quickly, in case I learn some essential Photoshop skill that would have made all the difference to photographs with which I have already finished. 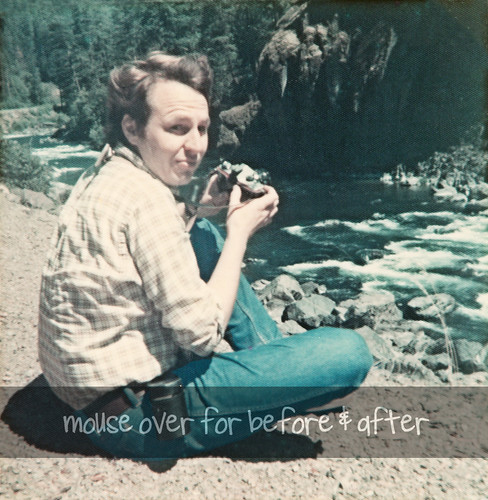 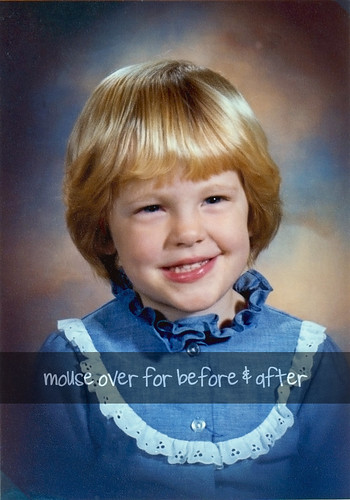 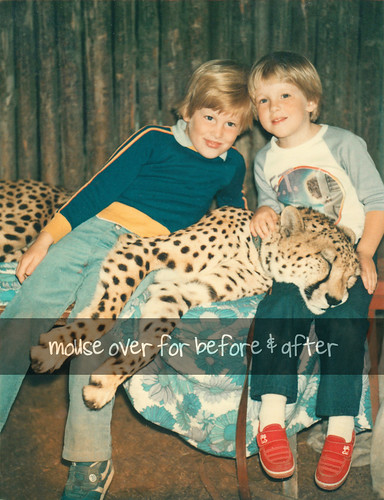 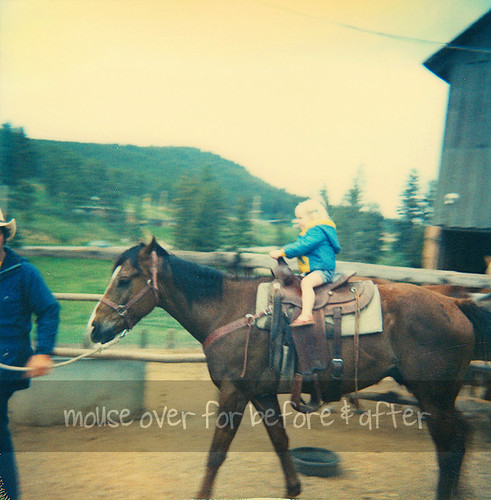
But Photoshop isn't my only trick. I also add to my HTML/CSS knowledge on a regular basis. That mouse-over business above? Yeah, just learned that today. Pretty snazzy, if I do say so myself. If you've already moused over them all and can't remember what the first image with the instructions looked like, just reload the page. Here's how to create the mouse-over effect with HTML: <img src="http://url-of-starting-image.jpg" onmouseover="this.src='http://url-of-hovering-image.jpg'" onmouseout="this.src='http://url-of-end-image.jpg'">
Most of the times I have seen this on other websites, the starting image and the ending image are the same, and that's probably what I'll do in the future so I only need two images instead of three. As far as where your image ends up on your page and how big it is, you'll have to play with that a little bit. I added a height=### attribute to mine to make them all line up nicely. You could also try tables.
Oh, and in case you're wondering: yes, that's a real, living, non-drugged cheetah. But isn't my awesome E.T. shirt really the better part of that photograph anyway? 
|
Topics
All
Archives
May 2021
|


 RSS Feed
HOME |
PHOTOGRAPHY COLLECTIONS
|

© COPYRIGHT 2020. ALL RIGHTS RESERVED.
|