|
I'm getting better at this Photoshop thing every day.
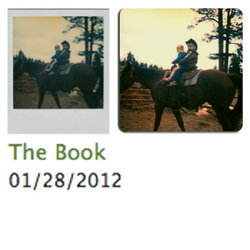
Of course, starting with a good photograph helps. I still don't think I'll ever be satisfied with what I can get from an old Polaroid. I was, however, surprised at how much of a difference I could make to a professional photograph. My (second) preschool class photo presumably shouldn't have needed much, and yet I was able to generate dramatic improvements. I almost don't want to tackle this restoring-all-my-old-photographs project too quickly, in case I learn some essential Photoshop skill that would have made all the difference to photographs with which I have already finished. 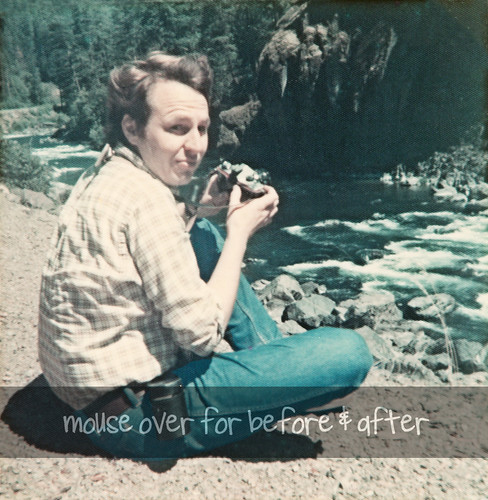 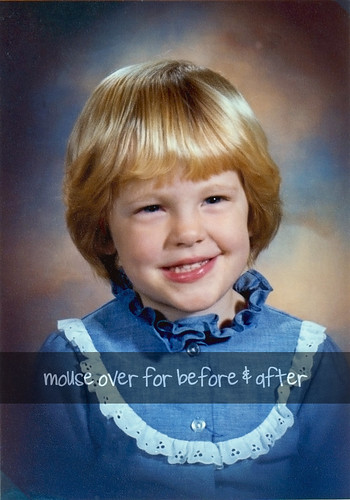 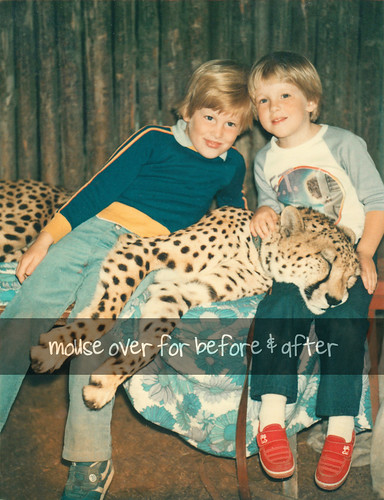 
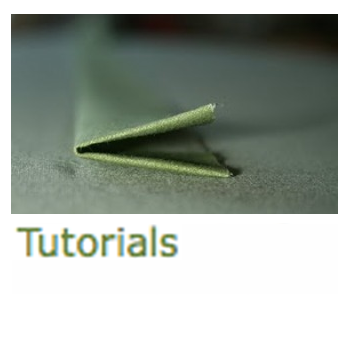
But Photoshop isn't my only trick. I also add to my HTML/CSS knowledge on a regular basis. That mouse-over business above? Yeah, just learned that today. Pretty snazzy, if I do say so myself. If you've already moused over them all and can't remember what the first image with the instructions looked like, just reload the page. Here's how to create the mouse-over effect with HTML: <img src="http://url-of-starting-image.jpg" onmouseover="this.src='http://url-of-hovering-image.jpg'" onmouseout="this.src='http://url-of-end-image.jpg'">
Most of the times I have seen this on other websites, the starting image and the ending image are the same, and that's probably what I'll do in the future so I only need two images instead of three. As far as where your image ends up on your page and how big it is, you'll have to play with that a little bit. I added a height=### attribute to mine to make them all line up nicely. You could also try tables.
Oh, and in case you're wondering: yes, that's a real, living, non-drugged cheetah. But isn't my awesome E.T. shirt really the better part of that photograph anyway? 
Colin
2/3/2012 01:23:17 am
Those are really good. Let me know if you run into a retouch problem, chances are I know the photoshop magic you would need. Comments are closed.
|
Topics
All

Archives
May 2021
|

 RSS Feed
HOME |
PHOTOGRAPHY COLLECTIONS
|

© COPYRIGHT 2020. ALL RIGHTS RESERVED.
|