|
This month's Tutorial Contest had several winners. The theme was fabric, and I just couldn't choose. One of the winning entries was from Jessie of Designs By Jessie. Jessie makes a variety of brilliant creations, including fabric covers for your scratchy, uncomfortable camera strap. As one of the top entrants, Jessie has won free advertising for one month on this blog, and her original tutorial is published below. Jessie's excellent photography skills make this tutorial easy to follow. I will certainly be making a few of these for various babies I know that are soon to be born. Check out Jessie's shop and blog! Jessie's Original Tutorial: Binding my quilt was something I was really afraid to do. You have just picked up your quilt from the quilter's, they quilted this beautiful intricate design. You sweated, and bled over your quilt top. Now you have to finish it. And you might hesitate a bit, at this final stage you really don't want to muck it up! You can also pay your local quilt shop between $50 - $75 to put the binding on for you. But why bother? That is money that can go for another quilt top! 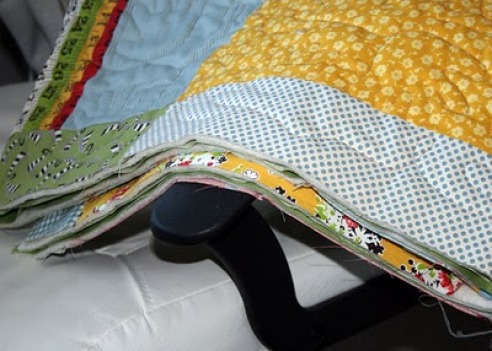 So, I have come up with a little tutorial to get you through this. Things you need: 1. Your rotary cutter 2. Your binding fabric (this could be special fabric you bought, or just scrap); I like to use the scrap fabric from my backing. 3. A walking foot 4. Quilting pins Instructions: Cut your fabric into 2 1/2 inch strips. You can cut these on the bias, but I tend to only cut my binding on the bias if I'm binding a scalloped edge. Cut enough strips that It will make it 1 1/4 way around your quilt. 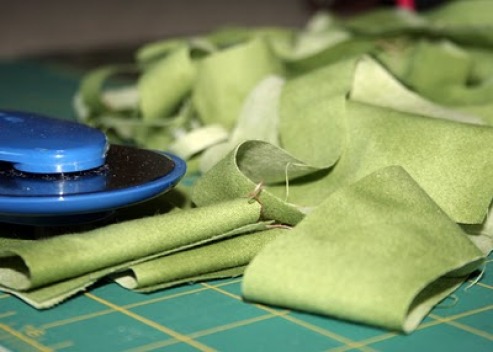 Sew the ends together so you get one continuous 2 1/2 inch strip. This strip should go around your quilt 1 1/4 times. 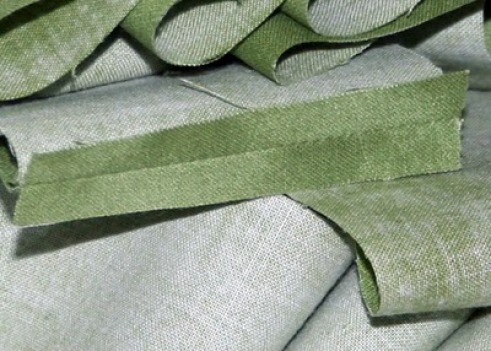 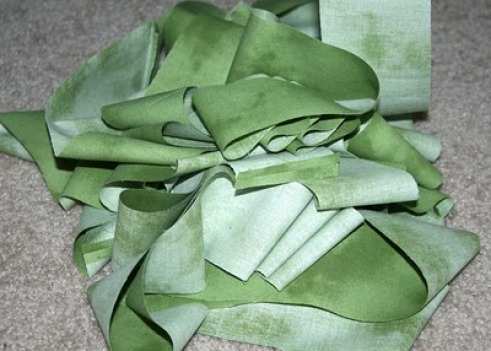 Iron your strips in half long ways. On one end, fold over the edge so it gives it a finished look. That end I will refer to as your tail end. 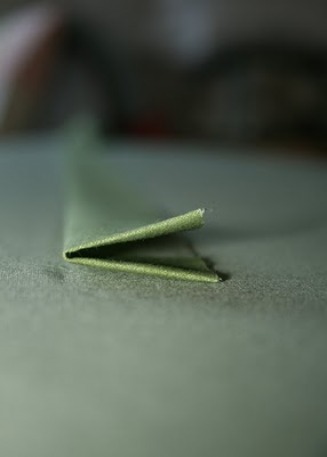 Take your binding strip. With the tail section in your hand, place it on the top of your quilt raw edge of binding facing out. Leave about 4 inches of your tail free and then pin the rest down to the quilt's corner. Sew a 1/4 inch seam to the corner of the quilt, stopping a 1/4 inch from the corner. 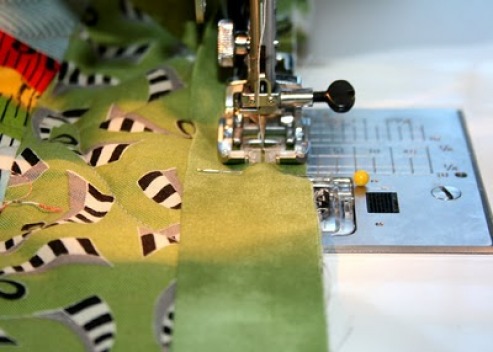 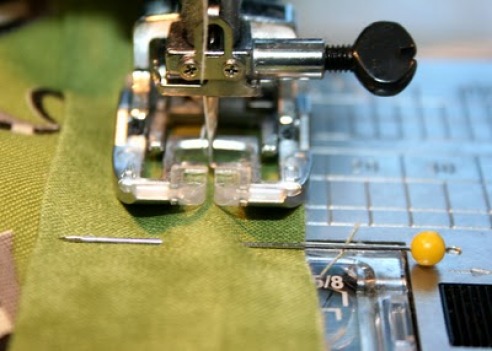 Back stitch to secure it. 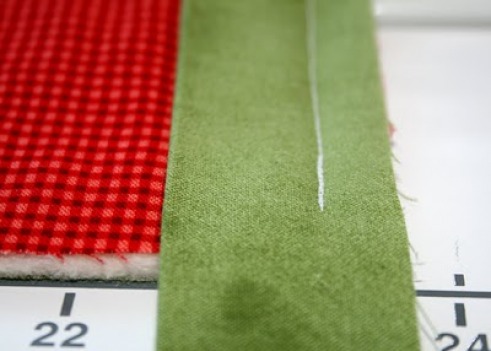 Fold your loose binding to the right, creating an L. 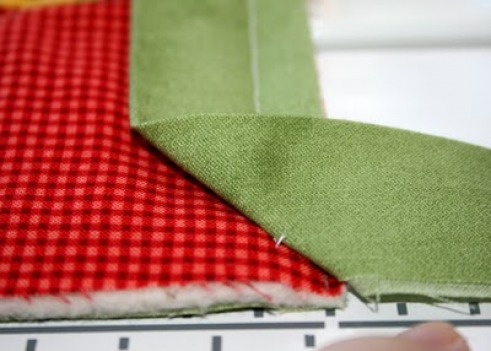 Fold the binding back over and align raw edge of binding with quilt top again and pin to secure. 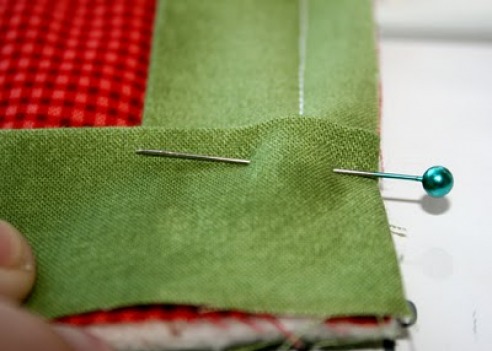 Start in the corner, and sew 1/4 inch seam to next corner and repeat for all your corners. Stop sewing once you get 6" from where you started. Once you get all around, you're going to come back to your tail section. Remember that you kept this loose? Measure your binding until it overlaps your tail section. Encase the binding strip's raw edge inside your tail section and finish sewing to your starting point. Turn the binding over the edge to the back. 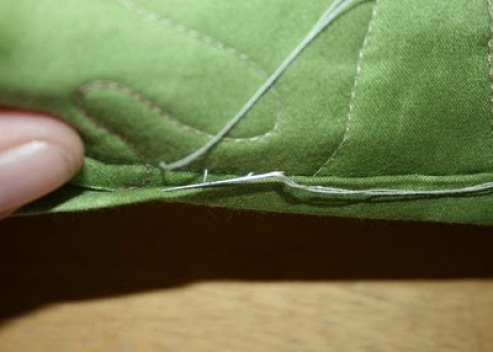 Making sure to hide the stitching lines, hand stitch around. 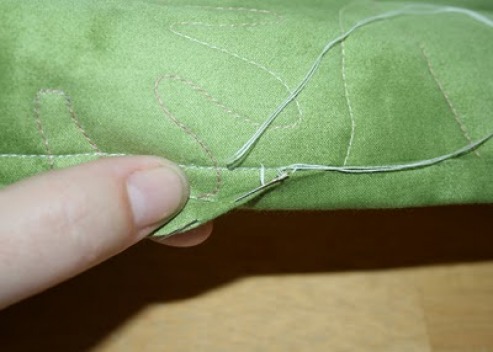 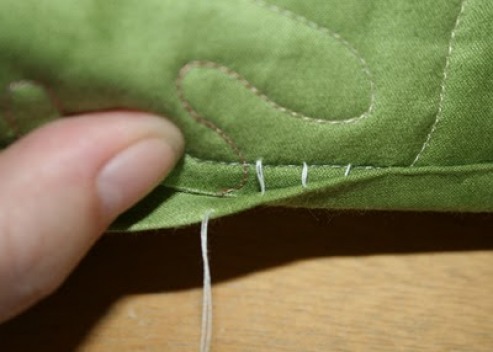 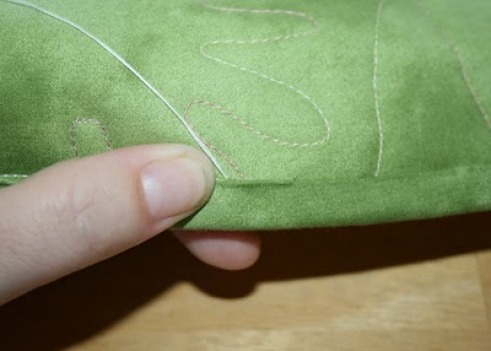 Stitch all the way around. Yes, it takes some time, and it's a bit awkward in the beginning. You will get your rhythm soon enough. Just put a fabulous movie in, or some great music and you will be finished in no time! 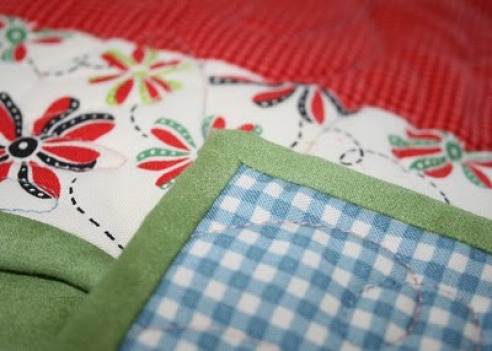 Binding with perfect mitered corners! 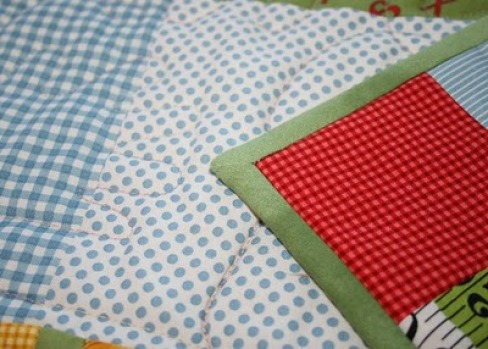 Once again, check out Jessie's Blog for the original post and other great content, and be sure to visit her shop!  Comments are closed.
|
Topics
All

Archives
May 2021
|
 RSS Feed
HOME |
PHOTOGRAPHY COLLECTIONS
|

© COPYRIGHT 2020. ALL RIGHTS RESERVED.
|