Culture, 6th Grade:
Wondering how to do this project at home? Here is a tutorial for the stencil method of silk screening. You will need to buy some items once, and some items over and over again. You can get started for about $35. Ask your 6th grader; your student should be able to clarify some of the details since they now have first-hand experience with this method.
Items you'll need to buy once:
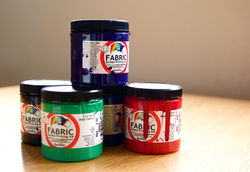
Items you'll need to replace as you use them up:
Step One: Print out or draw your design onto a piece of card stock. Decide which parts represent where you want the ink. Those are the parts you are going to cut out with the X-Acto knife. Inspect your design for areas that might fall out of the page completely if you cut out surrounding parts. Either be prepared to meticulously keep track of those parts, or leave a little card stock bridge to hold the pieces in place.
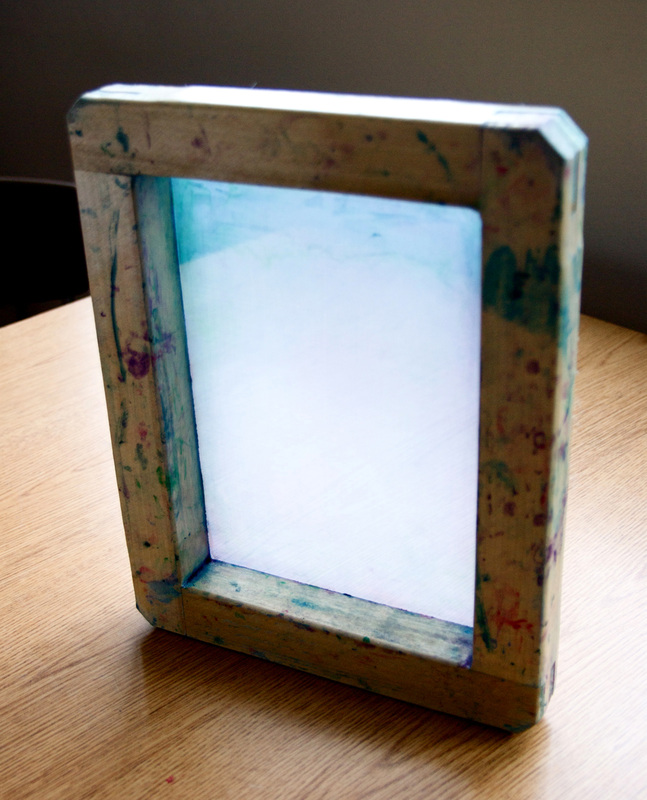
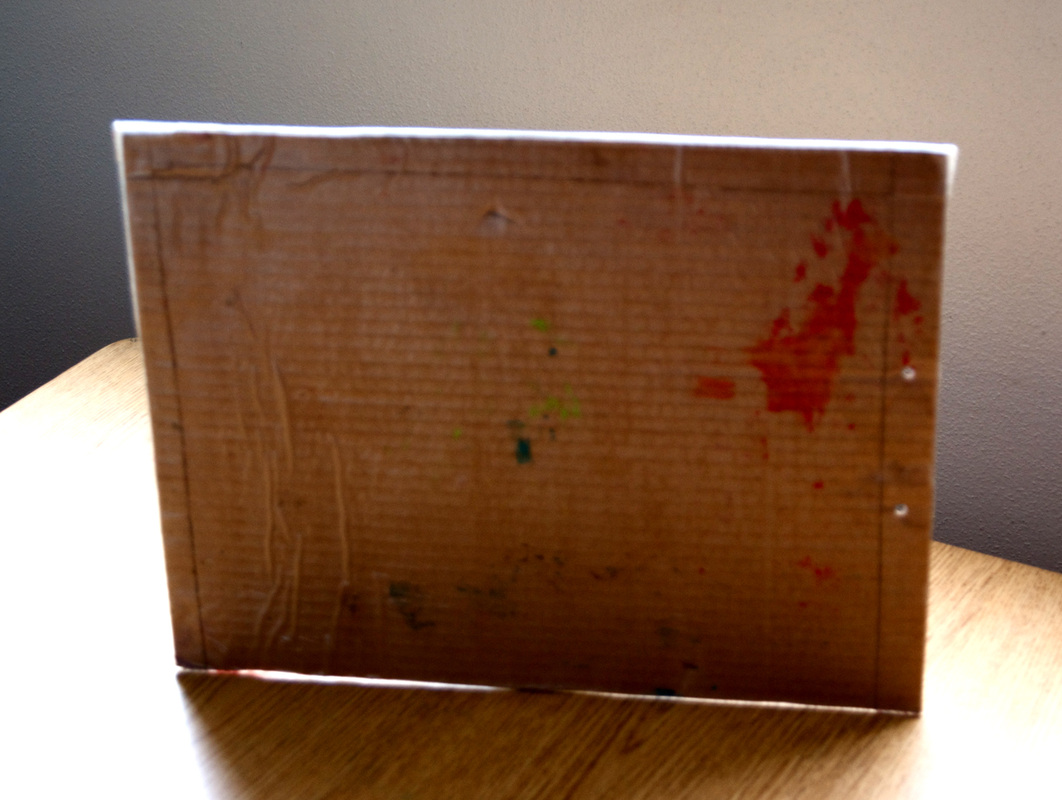
Step Two: Cut out your design. Put several sheets of newspaper or phone book under your card stock design while you cut it out with the X-Acto knife to protect your work surface. Step Three: Prepare your work station. On a table or the floor, put down a piece of corrugated cardboard first. This ensures that your surface is even and it has a little bit of give to it, so that when you push on the wooden frame, the silk is completely flat against the fabric. Lay your t-shirt down on top of the corrugated cardboard. Put a piece of cereal box cardboard inside the shirt (this keeps the texture of the corrugated stuff from showing through on your design), and two or three layers of newspaper or phone book pages between the cereal box cardboard and the front of the shirt (this keeps the ink from soaking through too far). If you are printing more than one shirt with the same stencil, set up additional shirts exactly the same way very close to the first shirt. Step Four: Set up your design. Place your card stock stencil on your shirt exactly where you want it to show up. Carefully set the blank screen on top of the stencil so that none of the shirt peeks through between the edge of the card stock and the wooden frame (if necessary, cover any shirt peek-throughs with a strip of newspaper or phone book). The silk part of the screen should be flat against the design. Step Five: Add the ink. Find a friend to hold the frame in place for you. If nobody is available, do this on the floor, and use your knees to hold the frame down. You don't want your frame to move while you work with the ink! Using a spoon, plop a dollop of ink onto your design somewhere. It really doesn't matter where. Step Six: Spread the ink. Using the squeegee, gently spread the ink around until it covers all of your stencil holes. You don't need to cover all of the silk, just all of the cut-out parts of your stencil. Scoop up any extra ink with the squeegee and scrape it back into the container. Step Seven: Power slides. Holding the squeegee perpendicular to the silk, press down hard as you scrape across your design. You are pushing the ink through the tiny little silk holes, past the card stock stencil, and into the fibers of the shirt, so you have to push hard. If you are pushing hard enough, your design should be very easy to see through the ink. Step Eight: Lift the screen. If you have a friend helping you, have them hold down one side of your shirt. Grab the wooden part of the screen that is closest to where your friend is holding down the shirt, and open the screen like a door (if you have no help, hold down the shirt with one clean hand, and open the door with the other). Your card stock stencil should stick to the screen, and you should be able to see your beautiful design on your shirt. If you are doing more than one shirt with this stencil, put it down on the next shirt immediately (do this carefully, you only get one shot to put it in the right spot) and do steps 5-8 again. If you are really fast with this process, you can do up to 6 shirts without compromising the integrity of the design or the screen. If you are not so fast, stick to 2 or 3. Step Nine: Clean up now. Carefully peel the card stock off of the screen. Set the stencil aside. Now clean the screen! Silk screen ink can dry in the fine holes of the silk, rendering it useless for future projects. Cool water and your fingers are all you need to clean the screen; just keep rubbing at any colored spots with your fingers under running water until they're all gone. Your brand new screen will be stained with color, but as long as all of the holes are still open, you can use the screen indefinitely. If your card stock stencil design is simple and not too soggy, you can use it again after it dries completely. Step Ten: Finish the t-shirt. Let the shirt dry flat overnight. Once it is dry, you can remove the cardboard and newspaper from inside the shirt, and heat-set the design. To heat-set the design, place a piece of aluminum foil on top of the design, and iron your shirt on high (without steam) for a couple of minutes on all parts of the design. Your design is now permanent, and your shirt can be machine washed and dried with the rest of your laundry. Non-porous work surfaces (such as your kitchen table) can be cleaned easily with some water and a little bit of scrubbing. If you get ink on your clothes while you're working, wash them immediately while the ink is still wet. All Culture and Conflict posts can be found under the topic heading: Diversion Audit. 

Comments are closed.
|
Topics
All

Archives
May 2021
|


 RSS Feed
HOME |
PHOTOGRAPHY COLLECTIONS
|

© COPYRIGHT 2020. ALL RIGHTS RESERVED.
|