
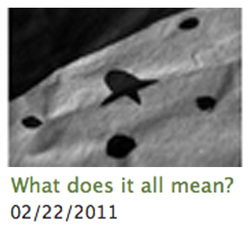
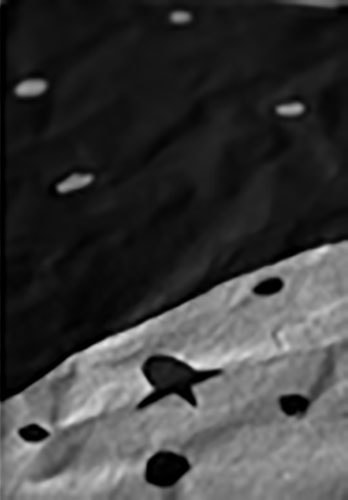
See a shot, then get out the camera and get that shot. Exactly that shot.
There are lots of 365 day photo challenges out there. Most of them focus on taking a photograph every day for one year. The motives include recording one's life, learning to use one's camera better, learning to take one's camera everywhere, and finding subjects even when it seems there are no subjects to be found. These challenges are hard, and they're meant to be hard. Such a challenge would be extra hard for me for one particular reason: I do not lead a regular life. No, I'm not a secret agent or anything like that. I mean regular as in routine, with a schedule that matches most other people. About one-third of my days are regular days. I wake up, I go do some stuff, I come home, I spend a little time on the internet, I go to bed. There is plenty of time and flexibility in such a schedule for me to reasonably challenge myself to take a photograph, do some brief editing, and formulate a short blog post about it. I could even do them in batches and post once a week - not easy, but not really an obstacle. Another one-third of my days are non-stop work from the moment I wake up in the morning (6:30) until the moment I go to sleep at night (sometimes as late as 1:30). This is not an exaggeration. When I work there, I barely have enough time to pee when I want to, let alone have enough energy left at the end of a day to spend any time at all on a computer. Also, the internet access is patchy and questionable at best, and frequently nonexistent. If I want to bring my camera somewhere during the day, I either have to carry it around all day (that's a long day, and my camera gets heavy after the 15th or 16th hour), or I have to figure out some extra free moments before and after the time I want to have it with me, so I can pick it up and drop it off. I make this effort as often as I can anyway, because the nature shots are so worth it. The last third of my days are spent recovering from the second third. If I don't have to be anywhere, I make a point of not being anywhere. I don't even exit my pajamas. I have been known to not leave the house for days at a time. This would also make a photo challenge difficult. I know there are many interesting things in my house I could find of which to take a photograph, but I think I would get bored with hunting down new subjects within my four walls. What do I really want out of this? I don't want a record of my daily life (like I said, some days are really just not worth recording), I would like to learn to use my camera better and take it more places with me, but not if it becomes a chore. What I really want is to get better at not passing up a shot. This is my challenge. If I see something interesting that I want to photograph, and I didn't already have my camera out, I need to learn to stop, get out the camera, and take the time to get the shot I want. This will probably lead to carrying my camera around more. This is not a take-a-photo-every-day challenge. This is a take-a-photo-when-a-photo-presents-itself challenge. I will not find one every day. Some days I will find more than one. Some days I'll be too tired to notice that there's even a world out there to be photographed. Some days the view (from my couch) will never change. This will be a 365 challenge not because it will happen every day, but because I'll keep doing it until I have successfully done it 365 times. "It" being: See a shot, then get out the camera and get that shot. Exactly the shot that I saw. The photo above is the first in my 365 challenge. Well, OK, the zeroth. It doesn't count because I took the photo before officially embarking on this journey. It fits the theme, though. At a friend's beach house, where games and puzzles and relaxation abound, I had been sleeping on the couch. As I awoke and sat up one morning, I peered over the back of the couch, across the card table with a puzzle-in-progress, and toward the sliding patio doors that lead to the porch, the beach, and the ocean beyond. The puzzle was bright and colorful, but from the angle I was sitting, and with the morning light coming in through the glass, the puzzle pieces looked silvery and metallic. Sure, I dropped the saturation down on the photo later, but not by much. The scene was basically black and white already. I knew I had to get the shot, so before I did anything else that morning, I went straight for my camera. I think it worked out pretty well. Only 365 more to go. 
   
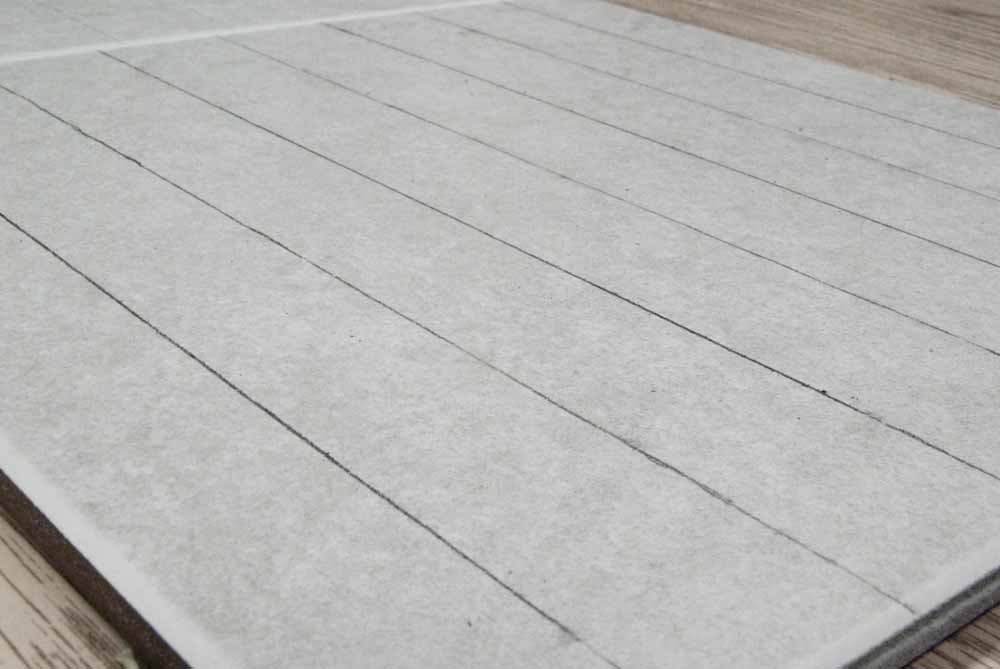
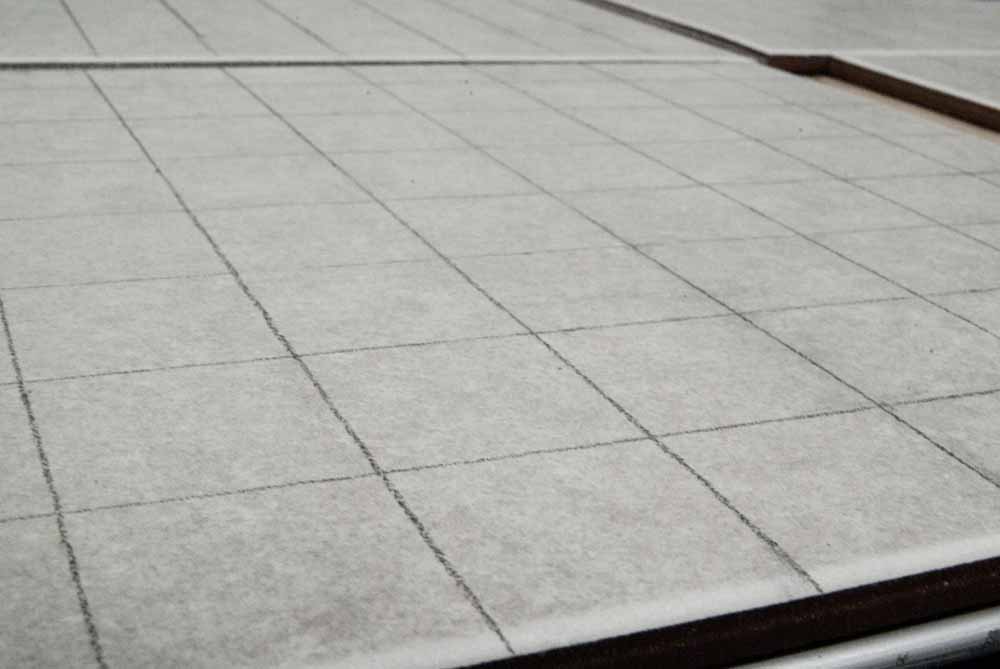
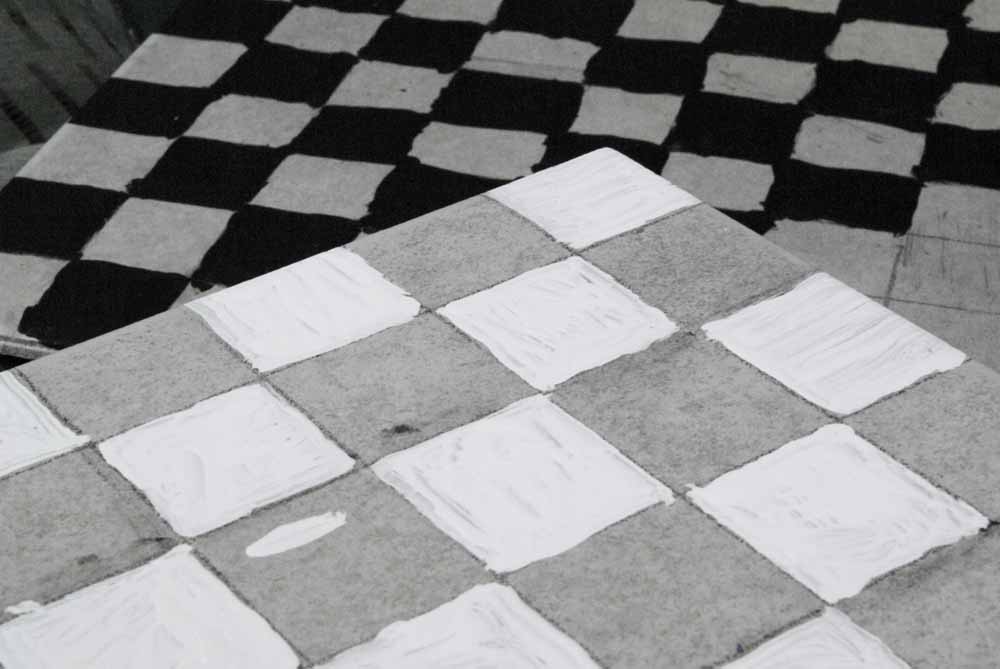
Conflict, 7th Grade: Yesterday, the 7th graders began work on their individual chess sets. They started with a ceramic floor tile, approximately 12" square, and carefully measured out the necessary 64 squares. Some students got to the painting stage and got a coat or two of their first color done. The students can choose among a variety of colors, the only requirement being that they need a light color and a dark color represented on their board. All Culture and Conflict posts can be found under the topic heading: Diversion Audit.  
HERE LIES BURIED
SAMUEL ADAMS SIGNER OF THE DECLARATION OF INDEPENDENCE GOVERNOR OF THIS COMMONWEALTH A LEADER OF MEN AND AN ARDENT PATRIOT BORN 1722 • DIED 1803 MASSACHUSETTS SOCIETY • SONS OF THE REVOLUTION 1898 I have always loved the phrase "ardent patriot" on this grave. My great (x7 or so) grandfather fought against tyranny and changed the course of history. His signature graces a document so revered by this country that it is displayed only while encased within titanium and aluminum, and surrounded by argon gas for preservation. I suppose my lineage makes me eligible to be one of the Daughters of the American Revolution, but I don't know if I can prove my ancestry well enough to join, nor am I really interested in monthly meetings of any sort. Twisted Fate Photography's current photo challenge is "Heroes," and I thought that good old Sam certainly fit the bill. He hasn't done much lately, but he did enough by 1803 to take care of several lifetimes of difference-making. 

I found this tutorial the other day by Darcy of Life With My 3 Boybarians, and it was so incredibly useful, I thought I should share it. I have an old version of Photoshop Elements, and it has long been sufficient for my skill level, but I have learned so much in the last month or so that I fear I might outgrow it soon and need the (eep!) expensive full version...
Even the old, stripped down model allows for accomplishing this magnificence: This photograph of my dear friend Katy in the snow has long been one of my favorites, because it showcases her eyes so well. Now with this Photoshop technique, I can really call attention to them.
My favorite thing about this edit is that it doesn't look fake (like my earlier attempts to accomplish this), it just looks cleaner, brighter, and clearer. It doesn't look like I changed the color, it just looks like I know how to focus my camera better. Portrait confidence, here I come!
See the How to Make Eyes Pop Photoshop Tutorial on Life With My 3 Boybarians. 
     
I entered a photo challenge with the theme "serene"... totally forgot I had done it, until I was perusing the Captivus Living blog again and discovered I was in the top 5! Woohoo! Please take a moment to Vote for my photo, the one with the purple trees on the coast (shown below).


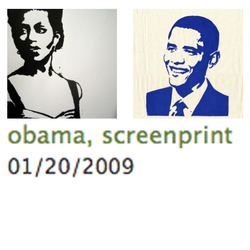
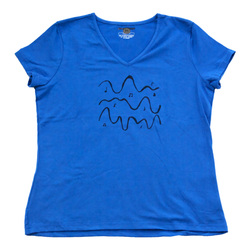
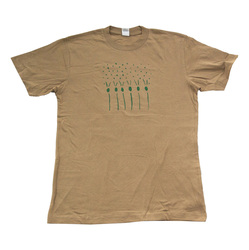
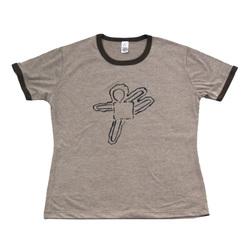
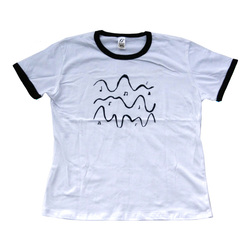
Culture, 6th Grade: There were a few leftover shirts, and some amazing stencils created by the students. The only logical thing to do was to re-use some of the stencils to support future artful learning projects! The shirts weren't done in time for the auction, but you can still buy one of these shirts while supplies last in my Etsy Shop. All proceeds will be donated to the school for next year's artful learning projects. Designs for sale were chosen based upon quality of design, universal appeal, and integrity of the stencil after the initial screening (if your student's design was not chosen, it could be that the paper stencil was too far disintegrated after your student used it for their project). All Culture and Conflict posts can be found under the topic heading: Diversion Audit.  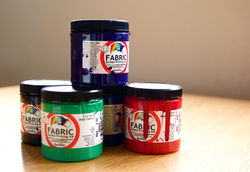
Culture, 6th Grade:
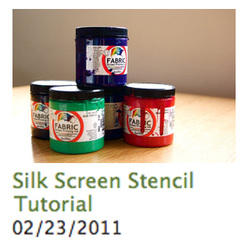
Wondering how to do this project at home? Here is a tutorial for the stencil method of silk screening. You will need to buy some items once, and some items over and over again. You can get started for about $35. Ask your 6th grader; your student should be able to clarify some of the details since they now have first-hand experience with this method.
Items you'll need to buy once:
Items you'll need to replace as you use them up:
Step One: Print out or draw your design onto a piece of card stock. Decide which parts represent where you want the ink. Those are the parts you are going to cut out with the X-Acto knife. Inspect your design for areas that might fall out of the page completely if you cut out surrounding parts. Either be prepared to meticulously keep track of those parts, or leave a little card stock bridge to hold the pieces in place.
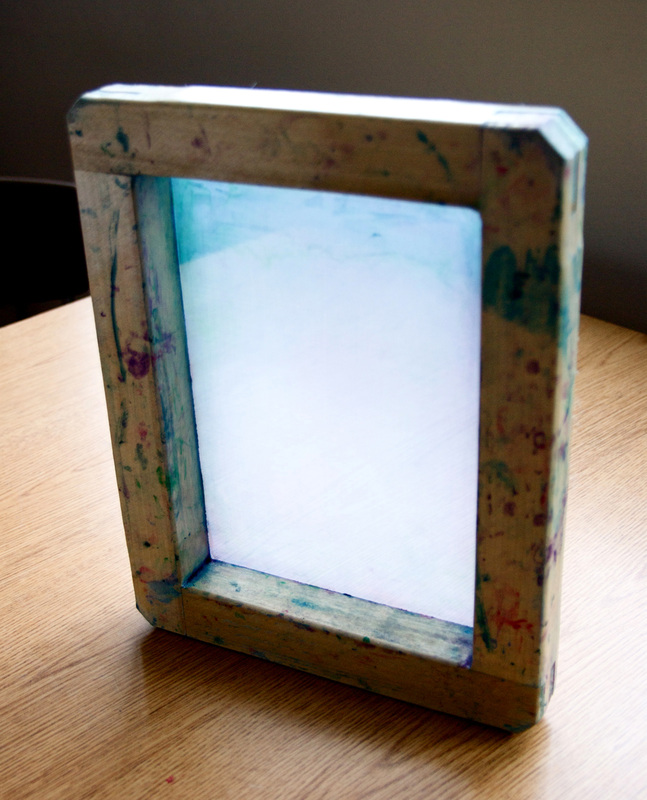
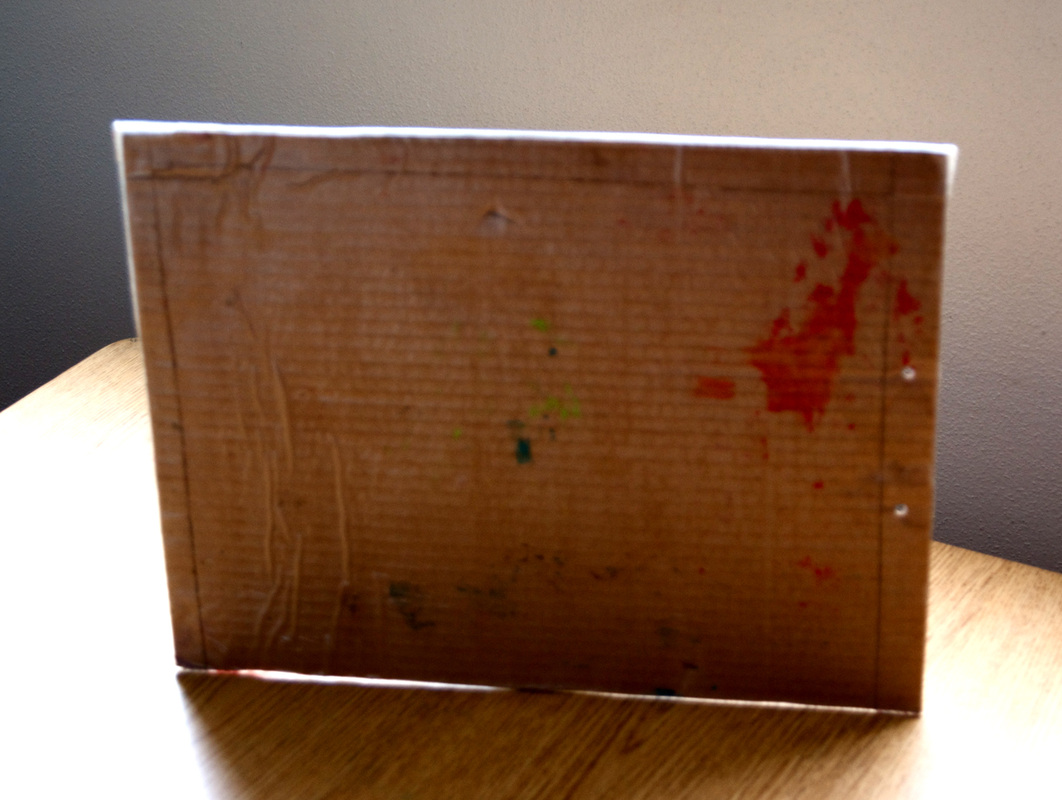
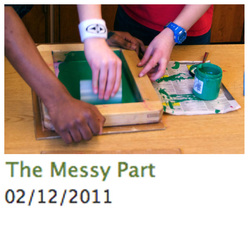
Step Two: Cut out your design. Put several sheets of newspaper or phone book under your card stock design while you cut it out with the X-Acto knife to protect your work surface. Step Three: Prepare your work station. On a table or the floor, put down a piece of corrugated cardboard first. This ensures that your surface is even and it has a little bit of give to it, so that when you push on the wooden frame, the silk is completely flat against the fabric. Lay your t-shirt down on top of the corrugated cardboard. Put a piece of cereal box cardboard inside the shirt (this keeps the texture of the corrugated stuff from showing through on your design), and two or three layers of newspaper or phone book pages between the cereal box cardboard and the front of the shirt (this keeps the ink from soaking through too far). If you are printing more than one shirt with the same stencil, set up additional shirts exactly the same way very close to the first shirt. Step Four: Set up your design. Place your card stock stencil on your shirt exactly where you want it to show up. Carefully set the blank screen on top of the stencil so that none of the shirt peeks through between the edge of the card stock and the wooden frame (if necessary, cover any shirt peek-throughs with a strip of newspaper or phone book). The silk part of the screen should be flat against the design. Step Five: Add the ink. Find a friend to hold the frame in place for you. If nobody is available, do this on the floor, and use your knees to hold the frame down. You don't want your frame to move while you work with the ink! Using a spoon, plop a dollop of ink onto your design somewhere. It really doesn't matter where. Step Six: Spread the ink. Using the squeegee, gently spread the ink around until it covers all of your stencil holes. You don't need to cover all of the silk, just all of the cut-out parts of your stencil. Scoop up any extra ink with the squeegee and scrape it back into the container. Step Seven: Power slides. Holding the squeegee perpendicular to the silk, press down hard as you scrape across your design. You are pushing the ink through the tiny little silk holes, past the card stock stencil, and into the fibers of the shirt, so you have to push hard. If you are pushing hard enough, your design should be very easy to see through the ink. Step Eight: Lift the screen. If you have a friend helping you, have them hold down one side of your shirt. Grab the wooden part of the screen that is closest to where your friend is holding down the shirt, and open the screen like a door (if you have no help, hold down the shirt with one clean hand, and open the door with the other). Your card stock stencil should stick to the screen, and you should be able to see your beautiful design on your shirt. If you are doing more than one shirt with this stencil, put it down on the next shirt immediately (do this carefully, you only get one shot to put it in the right spot) and do steps 5-8 again. If you are really fast with this process, you can do up to 6 shirts without compromising the integrity of the design or the screen. If you are not so fast, stick to 2 or 3. Step Nine: Clean up now. Carefully peel the card stock off of the screen. Set the stencil aside. Now clean the screen! Silk screen ink can dry in the fine holes of the silk, rendering it useless for future projects. Cool water and your fingers are all you need to clean the screen; just keep rubbing at any colored spots with your fingers under running water until they're all gone. Your brand new screen will be stained with color, but as long as all of the holes are still open, you can use the screen indefinitely. If your card stock stencil design is simple and not too soggy, you can use it again after it dries completely. Step Ten: Finish the t-shirt. Let the shirt dry flat overnight. Once it is dry, you can remove the cardboard and newspaper from inside the shirt, and heat-set the design. To heat-set the design, place a piece of aluminum foil on top of the design, and iron your shirt on high (without steam) for a couple of minutes on all parts of the design. Your design is now permanent, and your shirt can be machine washed and dried with the rest of your laundry. Non-porous work surfaces (such as your kitchen table) can be cleaned easily with some water and a little bit of scrubbing. If you get ink on your clothes while you're working, wash them immediately while the ink is still wet. All Culture and Conflict posts can be found under the topic heading: Diversion Audit. 

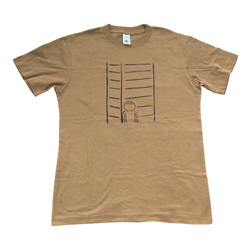
When I was a kid, I thought this would be the best job. Cleaning the insides of the giant tanks at an aquarium, and holding yourself in place with a little suction-cup handle. I'm not sure what about it appealed to me so much... For a while there, I wanted to be a marine biologist. Maybe it had something to do with that, although cleaning tanks is only obliquely related to marine biology. Maybe it was the free-floating aspect of it - the little suction-cup handle made it clear that without it, you'd have no leverage for cleaning the window and you'd float away. Maybe it was the appeal of being inside a photograph - the exotic colored fish in the impossibly green water wasn't real on this side of the glass, it was more like watching a movie. But on the other side of the glass, you were really there. I can tell you now what doesn't appeal to me about that job. I don't really like the idea of not being completely surrounded by breathable air (which is why I'll never be an astronaut). I don't really like to have lots of people looking at me; performance gives me hives. I know I wouldn't be putting on a show or anything, but I also know that as an aquarium visitor, I'm much more interested in the window-washer than the fish. I don't really like to swim, nor do I like wearing the things you need to wear in order to swim - they're uncomfortable to wear, uncomfortable to put on, even more uncomfortable to take off when they're wet, and then putting on dry clothes afterward is uncomfortable, too. Oh, and fish are creepy. Good think I never became a marine biologist, eh?  
One thing I love, and it happens nearly every time:
I go to a live performance, and find a little unexpected treasure. You know, like when you go to a concert with an opening band you've never heard of, and now the opening band is one of your favorites, like these blokes. So, a little while ago (OK, August 2009), I went to see some live ballet in Washington Park accompanied by the Portland Cello Project. I love me some cello, and there's almost nothing better than free performances in parks. It seemed like a lovely way to spend a summer evening. The unexpected part was this little bit at the end where Brian Perez lent his voice to the lovely collection of cellos. The cellos started out slow and haunting, and as John Brophy's bass guitar began, Brian Perez let loose that voice of his. I was taken aback by the clarity and power Perez packed into each note. Even with the wide open outdoor venue, and me sitting near the back of 3,000 people, Perez effectively filled the space with his slow croon. I thought to myself, "who is this guy?" I didn't really wonder why I'd never heard of him. I don't really pay attention to these things. Interestingly, though, I haven't heard anything about him since. It seems Brian Perez is well known (on the internet, anyway) for that particular song, but there's not much else about him out there. No solo career, not much in the way of other songs that aren't bad video of karaoke. Oh well; I'll have to be satisfied with that one live performance. You can see a video on YouTube or Vimeo of Brian Perez singing "One More Try" with the Portland Cello Project at the Doug Fir, or a lower quality video of the same song in Washington Park, where the above photo was taken. The Portland Cello Project's latest album is available now. 
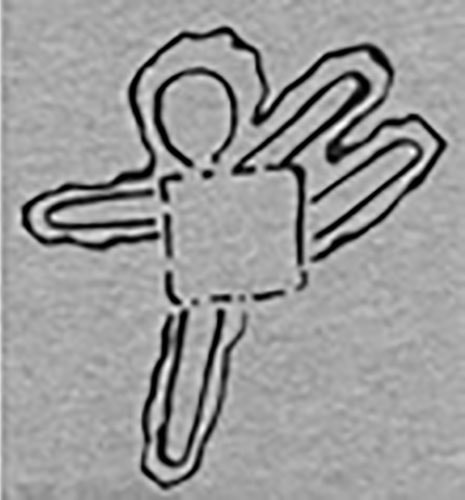
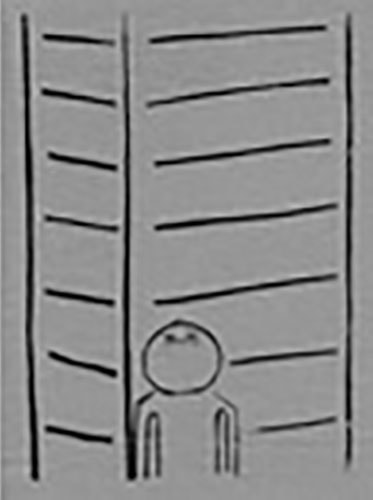
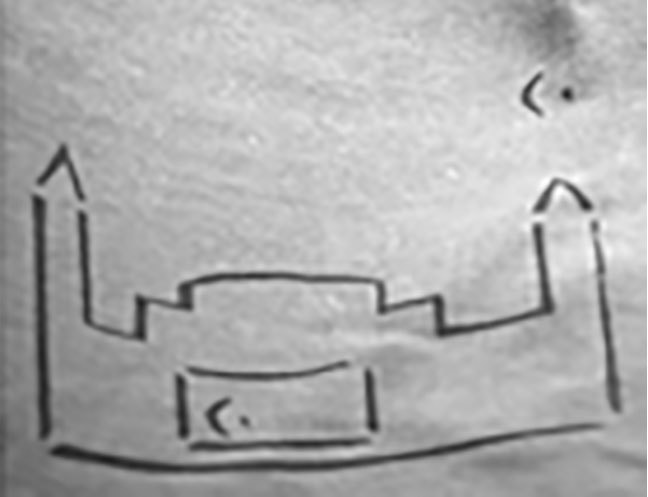
Culture, 6th Grade: Each student completed a reflection on their design. The assignment for the design was to create an abstract representation of some element of their culture that they had discovered through the process of investigating the elements of culture in the project. Where you live determines how you live, education, religion, government, recreation, food, shelter, family structure, etc...
All Culture and Conflict posts can be found under the topic heading: Diversion Audit.  |
Topics
All

Archives
May 2021
|


 RSS Feed
HOME |
PHOTOGRAPHY COLLECTIONS
|

© COPYRIGHT 2020. ALL RIGHTS RESERVED.
|